
Introduction
Multiple choice fields are fields that contain a list of choices that your form respondents can select from. Types of multiple-choice fields include:
- Radio Buttons
- Drop-down Menus
- Multi-select Lists
- Checkboxes
You can add and edit the choices on each of these field types by using the Edit Choices Menu. In addition, you can use a CSV file to create an "Autosuggest Menu" from a drop-down menu which narrows down the list of choices as you type. We'll cover this more below.
Edit Choices - Manual Input
Add, edit, delete and rearrange choices for all multiple-choice field types in the Edit Choices menu. Select the field and click Choices to open the menu:

From within the Edit Choices menu:
Add new choices
Type in your choices or copy and paste from an existing list. Press enter or OK to add your choice to the list.

Edit choice text
Click on a choice and begin typing.
Rearrange choices
Drag and drop choices vertically.

Delete choices
Click on the trash can button on the right side
Sort choices alphabetically
Click Sort(a-z) (click again for reverse alphabetical sort).
Delete all choices
Click the red Delete All button
Edit Choices - Menu Dependencies
If you have a dropdown menu set to be dependent on another menu, you can make additional changes in the Edit Choices menu:
Add a new choice to a particular category,
Click Add to Parent Menu or Add to Child Menu
Move choices between parent and child menus
Drag your choices horizontally.
If the CSV Format box for the dependent menu is not checked, each line entered will represent one choice.
For example, without the CSV Format box checked, Dairy,Cheese will be one choice. With the CSV Format box checked and Dairy,Cheese as the choice text, Dairy will be added to the parent menu and Cheese will be listed as a child menu choice within that parent menu.
To use the CSV format:
- Set up a menu dependency between two drop-down fields in the Options sidebar.
- Click Edit Choices.
- Check the CSV Format box.
- Type each set of parent and child choices on the same line, separated by a comma - for example Dairy, Cheese. You can also paste in multiple sets of comma-separated values—include each set on a separate line.
- Click Add or press Enter.
Autosuggest
- Autosuggest is available to all Premier Plans and Essentials and above plans.
- The feature can be used on all forms that are using Form Builder version 4.4.0 or higher. Form Builder 5.0 is currently the default version for newly-created forms.
- The Autosuggest feature is not compatible with our Menu Dependency feature.
The Autosuggest menu option works best for large menus and can support up to 200,000 choices. With Autosuggest, rather than locating choices in a lengthy dropdown menu, users are instead able to begin typing into a text input field and have valid entries from a list you upload suggested to them. In the new Form Builder 5.0, Autosuggest menus now support up to 20 columns in your dataset. That means you can map up to 20 columns to existing form fields, or create new fields for your dataset columns.
If you are an Essentials and above user, you will need to make sure the "Can Use Datasets" permission is checked under User Roles in the Admin Dashboard for any user wishing to use this feature.
Please note, using the Autosuggest feature will overwrite any choices added in the Basic menu. We do not recommend adding any sensitive information to your Autosuggest datasets (e.g., SSN).
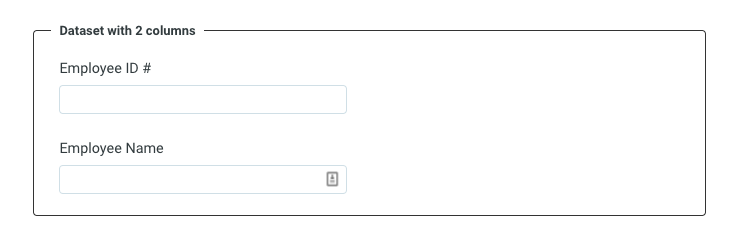
Before uploading your dataset (CSV) file to the dropdown menu field, add a text input field (if you have a 2 column dataset and so on depending on the number of columns). If you have existing form fields you will be using for this, there is no need for you to add additional text input fields.
To begin:
Select a drop-down menu field > click Choices and then choose your entry method:
- Choose Manual Input to type in your choices
- Choose Dataset to import a CSV file
- Choose Salesforce Dynamic Picklist to set up a Dynamic Picklist (Essentials and above plans only with the Salesforce Connector Add-on)
In the Menu:
- Click 'Choose File' to upload a correctly formatted (UTF-8 encoded) CSV file. Once you've uploaded a valid file, you'll also be able to reuse it by choosing it in the 'Select an existing dataset' dropdown menu
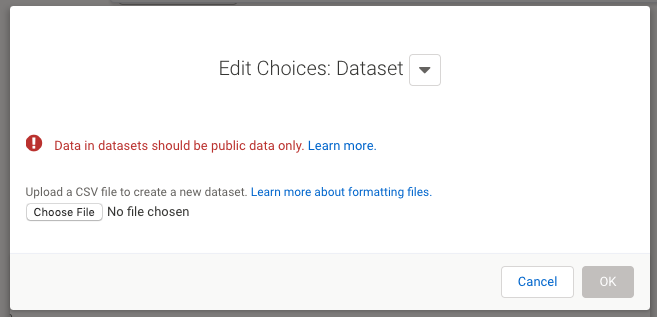
- Next, you will need to select the language of the CSV from the Language dropdown field. Only one language can be used for each dropdown menu.
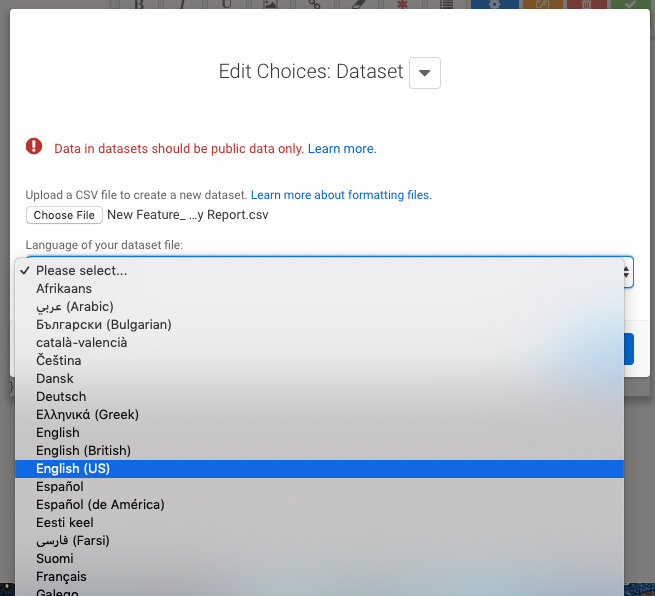
- Click Upload.

- You'll be presented with a preview of your data set that contains the first five rows of the set and the last two rows of the set. From the image above:
- A preview of your data set, featuring the first five rows of the CSV and the last two rows
- The total number of rows and columns in the dataset
- Current field and field alias where the first column of the dataset is mapped to.
- The “Select Field to map” box where you can type in the field title of the field you’d like the values in the succeeding columns to go into.
- Click Apply to complete the setup and return to the Form Builder


You'll see that in the Form Builder, your dropdown menu field has been replaced with a text input field. Click on the eye icon found on the left sidebar menu to view the live form and test your auto-suggest field.
Begin typing in the text input field. As you do, you'll see a list of possible values suggested. Click on one of the values to select it and set the field value to that choice.
Please note, there is a hard limit of 20 results for the Autosuggest feature. In other words, form respondents will be able to see a maximum of 20 results when they type each character.
Autosuggest Lists now have the option of restricting values. You'll be able to toggle the switch to allow or not allow outside values from respondents.

Autosuggest CSV Formatting Guidelines
- The CSV may have a maximum of 200,000 items and a maximum file size of 5MB.
- Make sure to save the CSV in UTF-8 format, particularly if you are using any special characters. If you are not seeing words with special characters when your CSV is uploaded, then it is likely not saved in UTF-8 format.
- The CSV may have a minimum of one column and a maximum of twenty columns.
- The first row of the CSV will serve as your headings. The system will ignore the FIRST line of the CSV while it is being processed, as it assumes that this line will contain column headings.
- Example First Line: Company_Name, Unique_ID
- Columns must be delimited (separated) by a comma—no other delimiter is accepted.
- Example: Column,Row
- Cells that contain commas as part of their value MUST BE enclosed by double quotation marks.
- Example: "Google, Inc",12345
- Delete any empty rows or columns in the CSV. All rows and columns should have data inside of them.