.png)
Overview
Creating multiple forms for different groups or audiences can often become challenging and difficult to manage. You end up with multiple connectors to maintain, multiple links to send out, and notifications to keep track of for each different form.
Many times, you can use a single form to meet the needs of a variety of audiences. This can primarily be accomplished by using conditional fields, sections, and pages.
By setting up a form this way, you will only have one form to maintain, one set of connectors to manage, and one set of notifications to set up.
The following video tutorials and information are designed to help you through the process of creating a single form that can fit the needs of multiple audiences.
Introduction to Conditionals
Conditional fields, sections, and pages are areas of a form that can be hidden until a user triggers their visibility by selecting a certain response or combination of responses. You can use these hidden sections to create a form that is responsive to your users' needs, so that they are only presented with the information and fields that are relevant to them.
Conditionals can be set up by clicking on the field, section, or page that you would like to make conditional, opening the Options Menu and then selecting Conditional Rules.
From here, you will be able to select the specific response, or combination of responses, that will trigger the visibility of the selected area. It is important to note that conditionally hidden areas cannot be triggered by input in text fields.

More detailed information about Setting Up Conditional Logic is available in our Knowledge Base.
Triggering Conditionals
There are two ways in which conditionally hidden areas can be triggered and made visible:
- By the user selecting a specific response, or combination of responses.
- By the form creator prefilling a specific response, or combination of responses.
Both options will be set up similarly using conditional rules within the Form Builder.
The primary difference is that for option two, the form creator will usually be prefilling fields that have been hidden with our Access Control feature (which creates fields that will be permanently hidden) so that the user will not be able to interact with the field that has been used as a trigger. This may not be appropriate for every use-case, nor is it necessary, but this is generally the most common example.
More information on Prefilling Conditional Triggers is discussed below.
Creating Hidden Fields
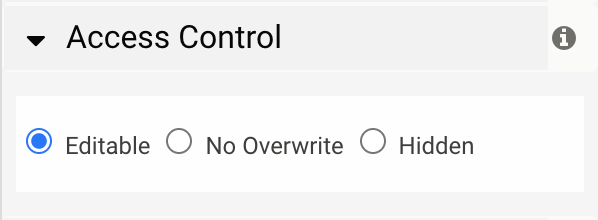
In order to prefill a hidden field, you first have to create a permanently hidden field. In the Form Builder, any type of field can be permanently hidden by selecting it, opening the Options Menu and then choosing Access Control.
From here, you will be able to choose whether you want the field you have selected to be editable, un-editable ("no overwrite"), or hidden.
It is important to note that hiding fields through the Access Control settings is not the same as creating a conditionally hidden field. Fields that are hidden using the Access Control feature will never be visible, and the user will never be able to interact with these fields.

Prefilling Conditional Triggers
Conditional triggers can be prefilled in a wide variety of ways, including through the Salesforce Prefill Connector, the Salesforce Marketing Cloud Prefill Connector, the URL that directs users to a form, and many other ways.
You can prefill any combination of multi-select fields (checkboxes, lists, radio buttons, and drop-down menus) and use these fields to trigger the visibility of other areas in your form. This can be incredibly helpful when you want to send out a link, or direct users to a form, that will have different areas visible depending on who they are or how they are arriving at your form.
Incorporating Menu Dependencies
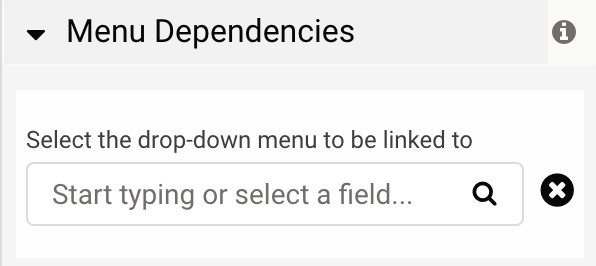
If you choose to prefill a drop-down menu, you can also incorporate menu dependencies into your form. By using menu dependencies, users will see a different set of options in a drop-down menu, depending on what has been prefilled.
By prefilling drop-down menus, and using menu dependencies, you can create a single form that is highly specific to a variety of different respondents and use cases.

Dynamic Email Notifications
If you plan on using a single form to reach multiple audiences, you can still send out email notifications to different people in your organization based on how users respond to your form.
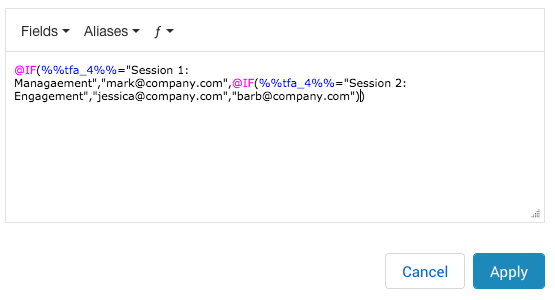
This can be accomplished by using either using Conditional Email Notifications or by setting up Standard Email Notifications and using Formulas and the Formula Builder to control who will be notified.
