Overview
This method of publishing allows you to choose the raw HTML snippet or the code for an entire page. If you are pasting into an existing page, use the snippet.
If you make changes to your form, you will need to replace the old code with a new version.
In general, we do not advise embedding more than one form on a single page. This can often lead to issues and errors.
Note:
- This publishing method is not compatible with the Salesforce Prefill Connector. However, the fields can still be prefilled directly through the URL.
- The embedding method is the same whether you're embedding a form with one page or multiple pages.
Retrieve Your Form's HTML Source Code
- After you have selected Configure for the form you'd like to publish, click Publishing on the left-side menu.
- On the Publishing page, under Publish on your own website, choose between the full HTML code or the snippet.
- A snippet is to be placed within an existing page. It does not contain the code needed to create a web page on its own. The snippet is seen here:
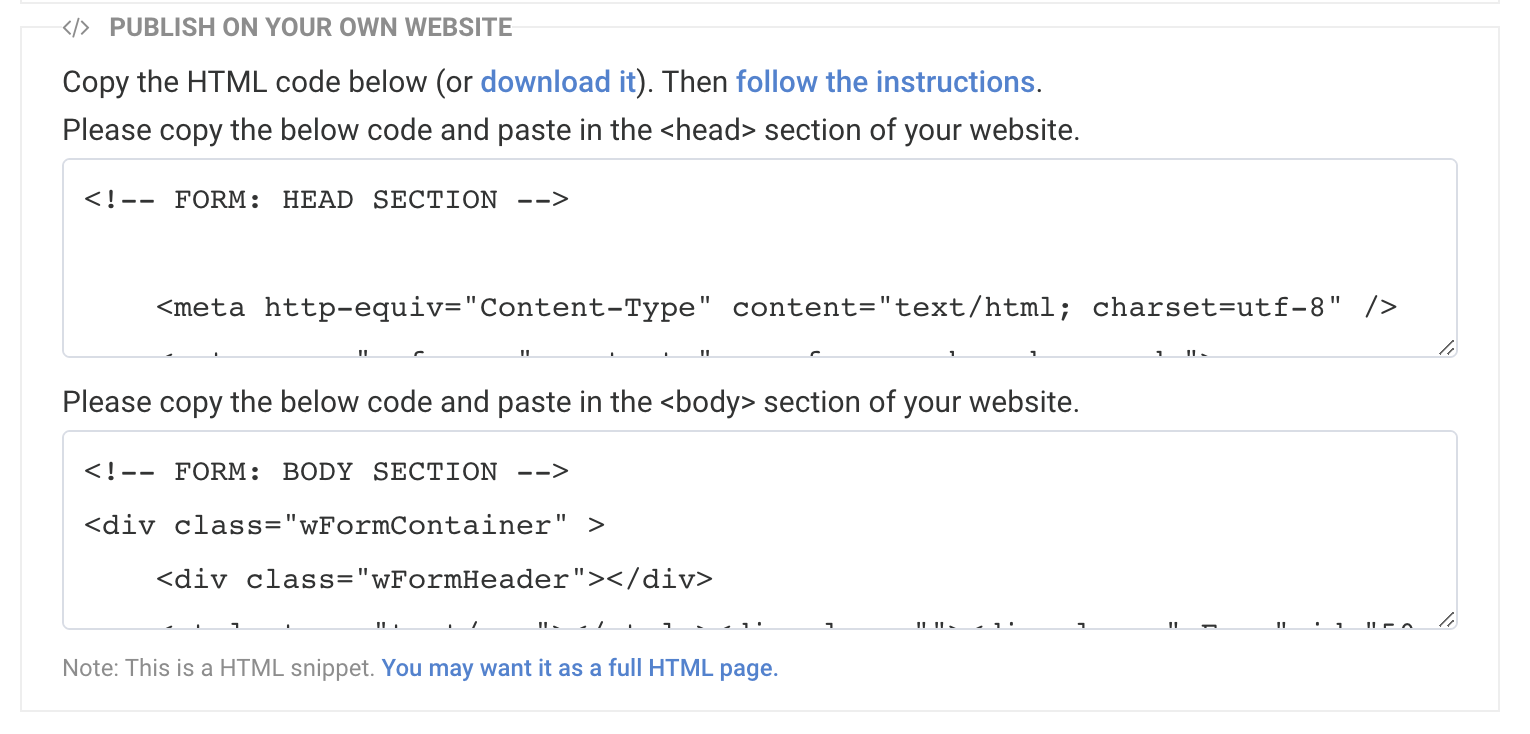
If you are using the snippet, you will need to copy and paste from two different sections: the code for the <head> of your website and the code for the <body> of your website. More details are below.
Now you can proceed to the next section and follow the steps to embed the code on your site.
Embed the Code Within Your Site
- Using an HTML editor, create a new page on your website and paste the HTML code of your form. Make sure that you're editing the HTML code directly (you should be able to see and edit the HTML tags).
- When copying and pasting, you'll notice that the HTML snippet is split between a <head> section and a <body> section. The code in the <head> section begins with this text:
<!-- FORM: HEAD SECTION -->,
The code in the <body> section begins with this text:<!-- FORM: BODY SECTION -->
Copy and paste the "Form: Head Section" into your site's header, and copy and paste the "Form Body Section" into your site's body. - Upload the page (if applicable) and test. You should be able to see the form, submit it, and the form validation should work (i.e., you should see an error if a required field is left empty).
Note: This method of publishing does not work with ASP.NET-based CMS’s. ASP.NET surrounds the entire page markup in its own form element, and it will cause issues with a plain HTML embed, such as the one we use for the HTML publish option.
Note: SAML authenticated forms cannot be published using embedded HTML.