Overview
The Salesforce Marketing Cloud Prefill Connector allows you to retrieve data from your Salesforce Marketing Cloud records and display that data in a prefilled form for your respondents.
Requirements
You'll need...
- FormAssembly Essentials plan or higher.
- FormAssembly Salesforce Add-on enabled for your account.
- REST API
- WordPress
- Hosted by FormAssembly
Add the Connector to Your Form
- Select the form you plan on working with
- Click on the Connectors page
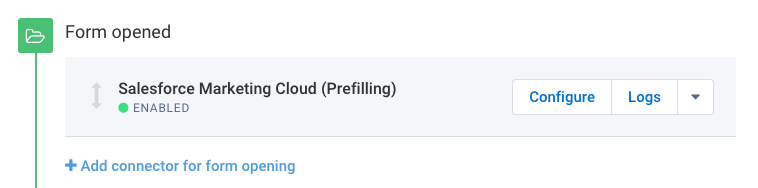
- Add the Salesforce Marketing Cloud Prefill Connector into the Form Opened section of the timeline
- Click Configure.
Setup
Step 1. Credentials
To connect to Salesforce Marketing Cloud you'll need your "client ID" and "client secret" credentials. These are available on the Authentication and Integration section of your overview page in Salesforce Marketing Cloud.
You can read more about manually connecting to Salesforce Marketing Cloud if you need detailed steps to find these credentials.
Once you have found your client ID and client secret, you'll need to copy and paste them into the Connections Parameters box and click check.

Step 2. Lookup Query
First, decide:
- Which record do you want to prefill from?
- Which Salesforce Marketing Cloud field will you use to uniquely identify each record?
Click the "Add your first object" button to get started.
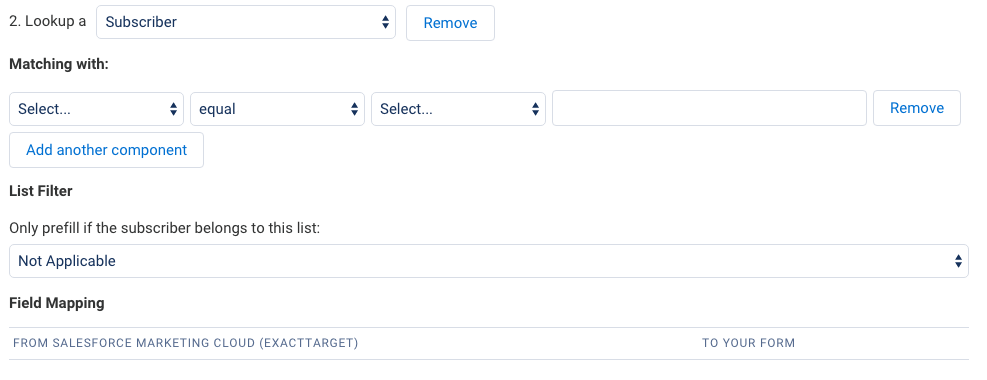
Next, you will need to create your lookup query.
- In the "Lookup a" drop-down menu, choose if you would like to look up a subscriber or a custom data extension.
- In the area labeled Matching With, choose the Salesforce Marketing Cloud field which you will query.
- Select the operator in the middle drop-down, i.e., Equals.
- Select an unsafe query parameter, which is a parameter that uniquely defines your query.
- Enter a value to represent the parameter. This is very flexible, and it's up to you. In this case, the value is email, as we will query an email address.


- Add additional parameters and a list filter if needed.

Step 3. Field Mapping
Next, map the fields you would like to prefill in the form.
- Select a field from Salesforce Marketing Cloud on the left and select the matching field in your form on the right.
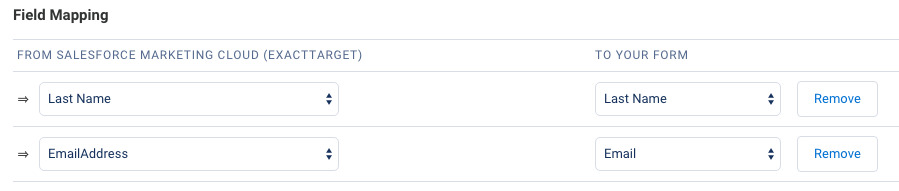
- Click Map Another Field for each field you want to prefill in your form.
Step 4. Working with Multiple Records
If you need to retrieve data from more than one record to prefill your form, click Add another object to set up another query and field mapping set.
Direct Your Respondents to a Prefilled Form
The two most common options:
- Send a Prefilled Link
- Send a custom link in an email containing an identifying value.
- Use Two Forms
- The respondent enters an identifying value into Form 1.
- After clicking submit, the respondent is directed to a prefilled Form 2.
To build your prefill link, you'll need:
The form's address (URL)
- Go to the Publish tab and copy the public address under Your form is publicly available at this address. If you've published the form on your own website, you can also use that URL.
The parameter name you want to fill
- This is the name you gave the parameter in the connector. In this example from above, it would be email.
Build Your Link
To build your link, you can use a basic text editor, like Notepad or TextEdit. Here's a form link from the Publish tab, where 283230 is the form ID.
http://enterprisedemo.formassembly.com/283230- Copy your form URL from the Publish tab, and place a question mark at the end.
http://enterprisedemo.formassembly.com/283230?- Next, you'll want to add the unsecure query parameter that you created earlier. In this example, we're using "email."
- Add an equals sign after the parameter name.
http://enterprisedemo.formassembly.com/283230?email=
- After the equals sign, you'll want to enter the data that will prefill the form field.
http://enterprisedemo.formassembly.com/283230?acctnum=help@formassembly.com
Learn more about building a link to prefill forms.
Send a Prefilling Link
After you've built the link, you can place it in an email as is, or make it dynamic by using a merge field from the Salesforce Marketing Cloud email system.
Here's an example of Salesforce Marketing Cloud merge fields:
http://enterprisedemo.formassembly.com/283230?email=%%emailaddr%%

Use Two Forms
In this setup, the respondent would initiate the prefilling of Form 2 by submitting Form 1 after entering their uniquely identifying value into the form field.
In the Notifications page of Form 1, the redirect field would need a URL similar to:
http://enterprisedemo.formassembly.com/283230?email=%%tfa_1%%
The field alias %%tfa_1%% will be filled by the value entered into the field on Form 1.
On the Publish page for your form, click "Show how to prefill form data dynamically" to find the field alias(es) you'd like to prefill with.
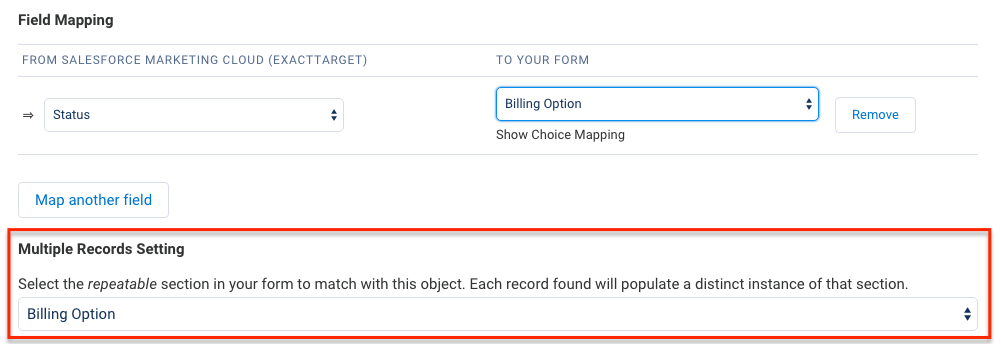
Prefill Repeatable Fields and Sections
At the bottom of each lookup, you will see the option for Multiple Records Settings. As with the Salesforce Connector, this is where you may choose which repeatable section in your form you would like to prefill.
The data sections are sorted by the first field, and by creation date.