Overview
With FormAssembly's Stripe Connector, you can easily process one-time credit card payments, set up recurring credit card payments through subscriptions, and create new customers in Stripe. This connector is available on all current plans and must be set up on a form-by-form basis.
Provided you have a Stripe account, you can follow the steps below to configure the connector and begin processing payments.
We also recommend reading more about how you can use reCAPTCHA to prevent spam submissions, as well as our Connector Labels to keep your connectors organized.
Sensitive Data Notice
Credit Card Numbers and CVV Codes must be marked as Sensitive Data. Please click here to read more about these fields.
Getting Started
This service is best suited for simple situations, where:
- You have a limited number of types of items to sell.
- Items have a fixed price and a fixed or variable quantity.
- Shipping & handling fees and taxes are applied to the total price.
Here are a few examples:
- Selling intangible goods such as music (MP3s), software, eBooks, etc.
- Charging a membership or an admission fee.
- Charging a flat fee for consulting services.
- Accepting donations.
- Selling physical goods, to the extent that inventory is not an issue.
Requirements
You'll need a Stripe account and FormAssembly's Payment Connector Add-on.
Required Fields
As you build your form, make sure to collect the following credit card information:
- Credit card number
- Credit card expiration date (month and year in two separate fields)
- Credit card security code
- Cardholder's full name
- Cardholder's email address
If you are building your form from scratch, check out our predefined content to easily add a payment information section.
Configuration Steps
- Step 1. Your Stripe Authorization
- Step 2. Credit Card Information
- Step 3. Customer Billing Information
- Step 4. Shipping Information
- Step 5. Subscription Information
- Step 6. One-Time Charges
Once your form has been created, and you know what types of items or services you'll sell, you are ready to begin!
First, select the form you are working with and go to the Connectors page.
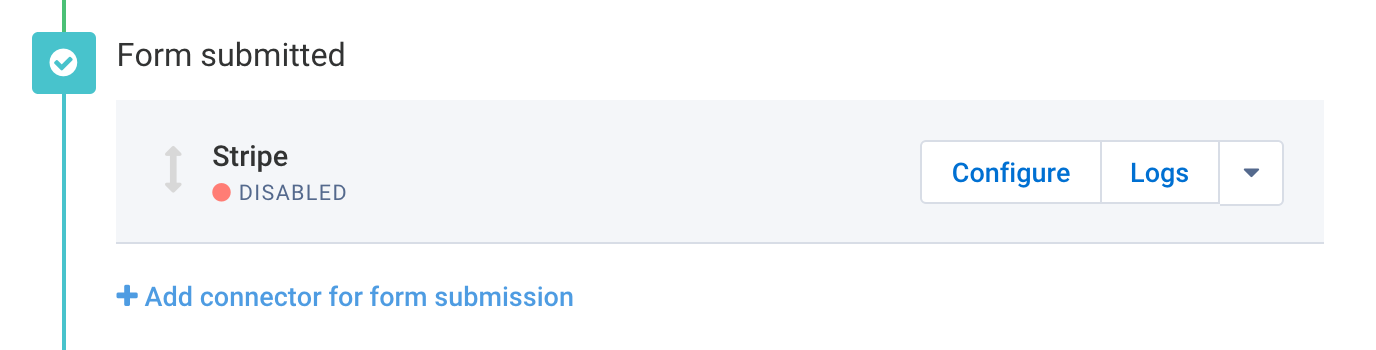
Next, add the Stripe Connector to the Form Submitted portion of the timeline and click Configure.
Step 1. Your Stripe Authentication
The first step in your connector setup is to connect to Stripe. You can choose to use either your Linked Stripe Account (OAuth), Linked Stripe Test Account (OAuth), or your Stripe Secret Key.
Your Secret Key can be found in your Stripe account details, and only your Test Key* should be used at this time. If you're using your Test Key or the Linked Stripe Test Account (OAuth), only test credit card numbers will be accepted.

Note that you may encounter the following error if using a secret key to test:
Sending credit card numbers directly to Stripe API is generally unsafe. We suggest you use test tokens that map to the test card you are using, see https://stripe.com/docs/testing.
If you encounter this error, please contact Stripe Support for assistance. Stripe Support will assist you with adjusting your Stripe settings.
Change Access Information
When using OAuth, click Add New Account if you would like to add another account for processing payments.
If you want to change access for a single form from OAuth back to the API key, you will choose Secret Keys from the dropdown instead of OAuth and enter your secret key.
Step 2. Credit Card Information
Once you've entered your secret key, you'll need to begin your field mapping so that the connector will know which fields in the form to pull information from. To do this, click on the dropdown menu next to each field and select the field in your form where this information will be entered.
You can also use our Formula Editor while you are mapping information to any of the fields in the Stripe Connector. If you are mapping to any repeated fields, please read this article to learn more about how they will work in conjunction with the Stripe Connector.

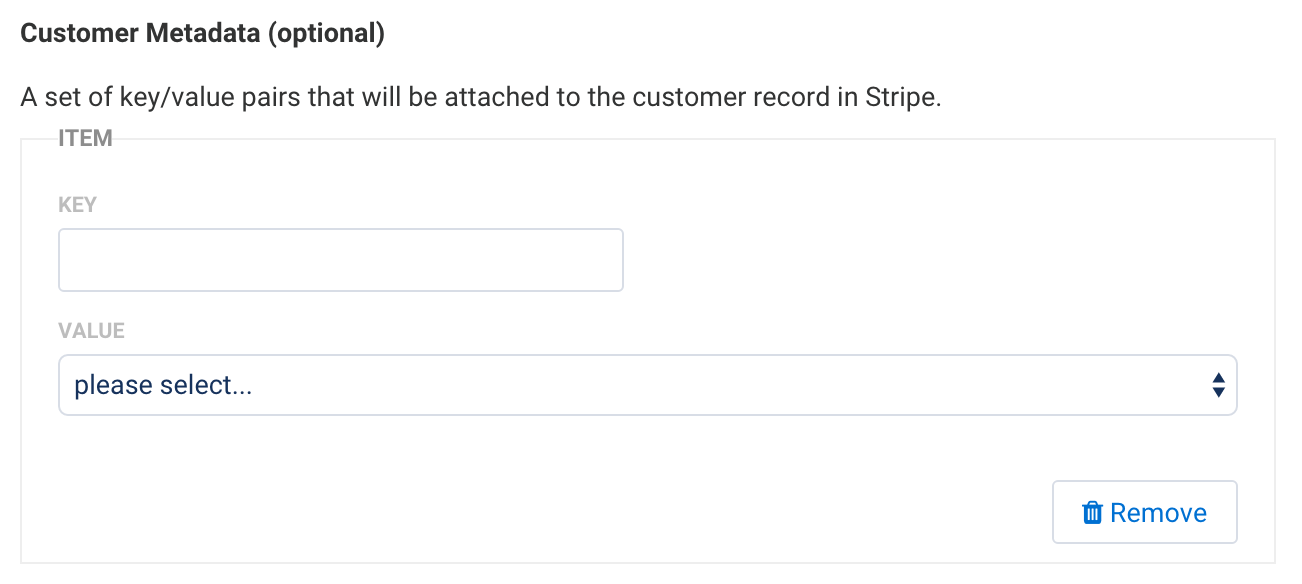
During this step, you can also configure Customer Metadata if you'd like. Doing this will attach a set of key/value pairs to your customer's record in Stripe. You will be asked to provide a key and decide if the value will be defined in the connector or the form.
Because Stripe allows for up to 20 metadata key-value pairs, and created_by is one such pair that is created automatically by FormAssembly, users can create up to 19 metadata fields in the Stripe Connector configuration screen.
Step 3. Customer Billing Address
Once you have mapped the credit card information, you can do the same for the customer's Billing Information, although this information is optional and not required. Again, you can click on the dropdown menus next to each field and select where you will define your values. In general, these values will be defined by fields in your form, and if you choose to map this information, you will need to select which field corresponds with which value.

Step 4. Shipping Information
If you choose to collect shipping information, you'll need to define your recipient's name either in the connector or in the form. Additionally, you can choose to use the billing information entered above or map separate shipping information fields.

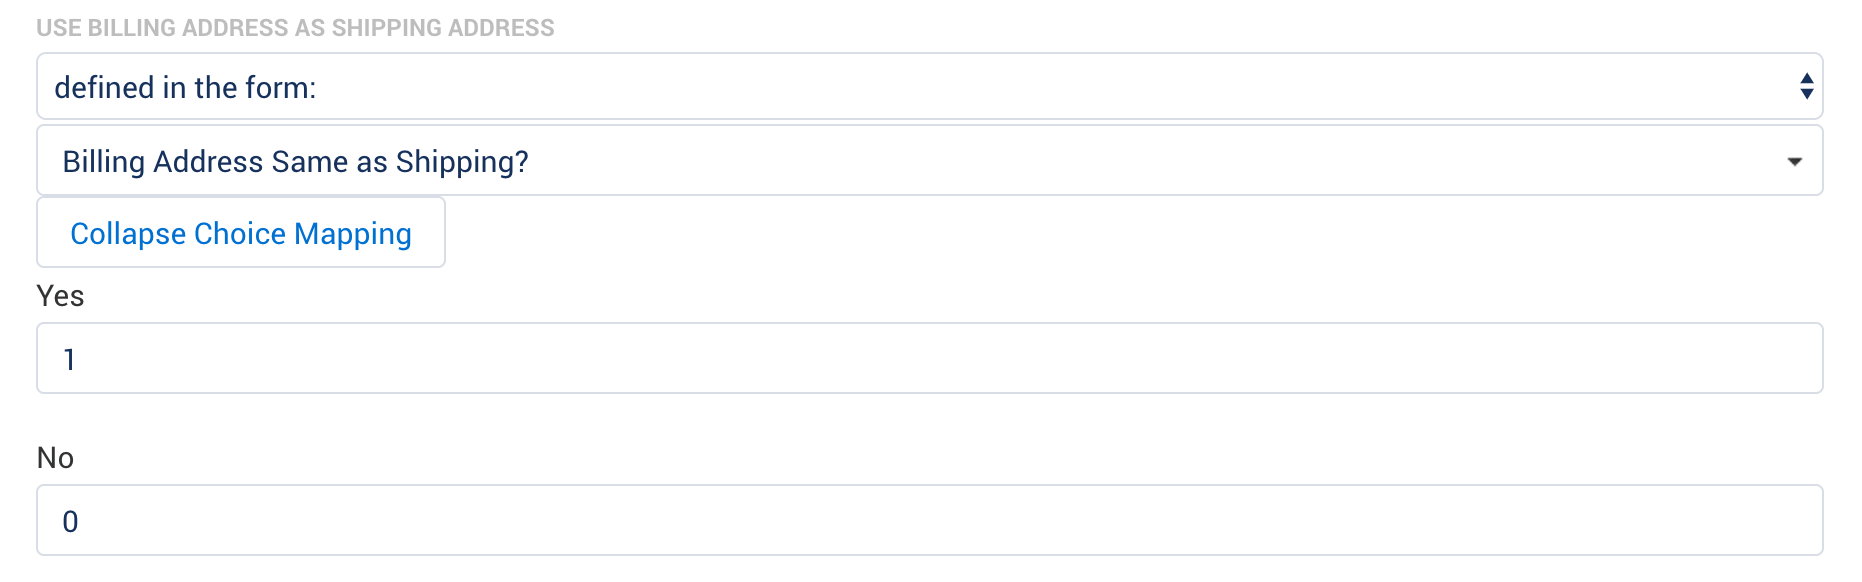
If you would like to map a field from your form that asks "Is your billing information the same as your shipping information," you can do that here as well. You will want to follow the mapping in the image below. If a user says "Yes", you would map this as a "1" and use a "0" for "No."
Step 5. Subscription Information
You also have the option of adding subscription information for recurring payments. If you choose to add any subscriptions, you will need to define the Plan ID and Plan Quantity either in the form or in the connector.
For the Plan ID, this will need to match a Plan ID you have previously created in Stripe. As noted above, new Stripe Plans use "Products" and "Pricing". If yours is one of these, then you can use the API_ID instead.
As an example, if you are still using Plan IDs and have a plan in Stripe with the name of "annualtwentyfive" for a $25 annual donation, then the value you send from the connector will need to match that exactly (capitalization included).

The Plan Quantity default value is 1.
Plan Coupons and Plan Tax Percents can also be configured here, but they are not required.
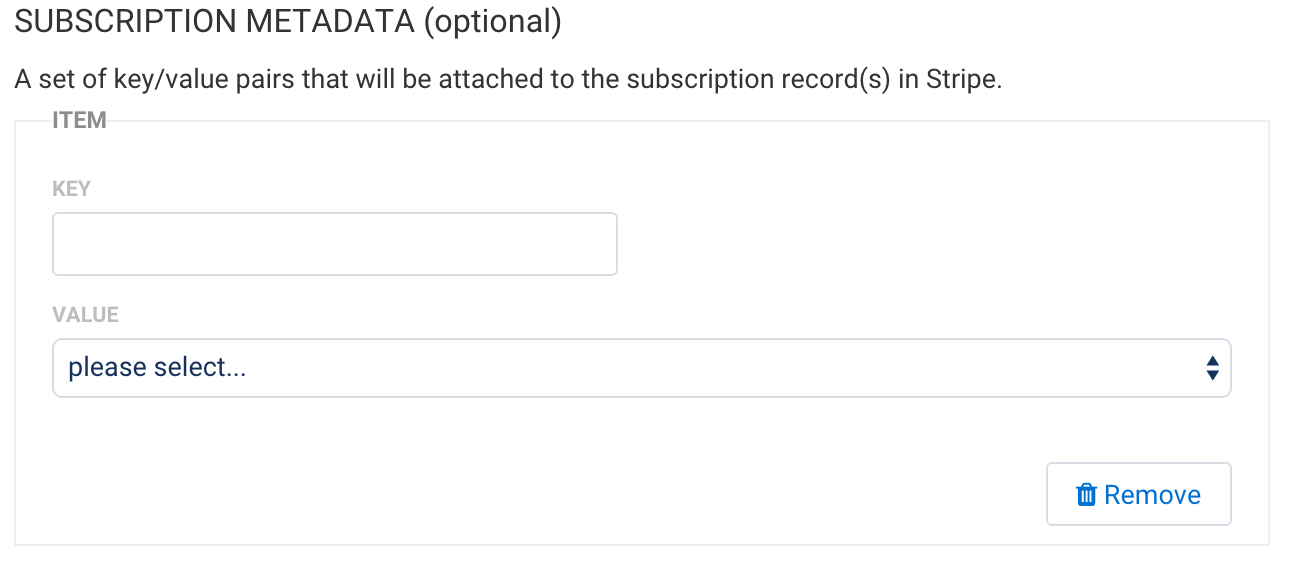
Finally, as with Step 2, you can add Subscription Metadata in the form of key/value pairs.
Step 6. One-Time Charges
Finally, during step 6, you'll need to configure all of the single items and services you have available for purchase. At a minimum, you will need to define Item Name, Unit Price, and Quantity Ordered for each item you are selling. The Item Name and Description fields are for your records only and are not sent to Stripe.
You can choose to define your item price and quantity in the connector or the form. If this information is being collected in the form, then you will need to select the field where the information is located. If you're defining the values in the connector, you'll need to write in the values you would like.
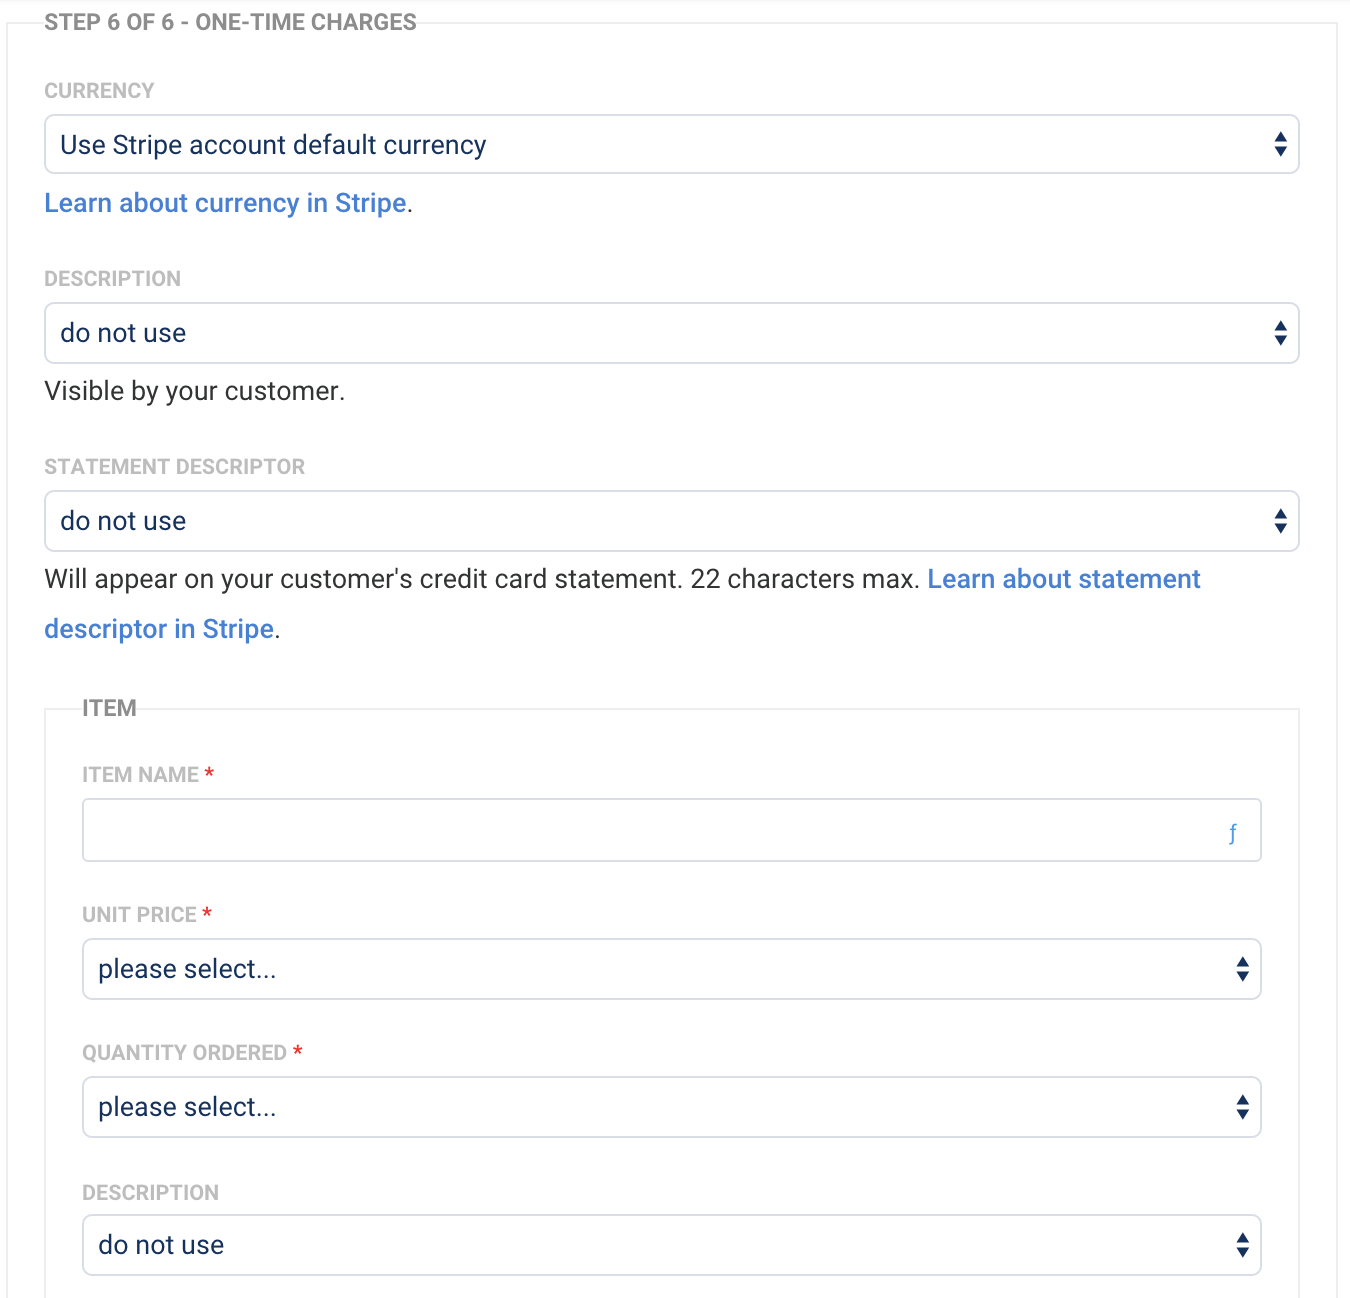
Your currency option will be automatically set to your default currency in Stripe, but you have the option of selecting a different currency.
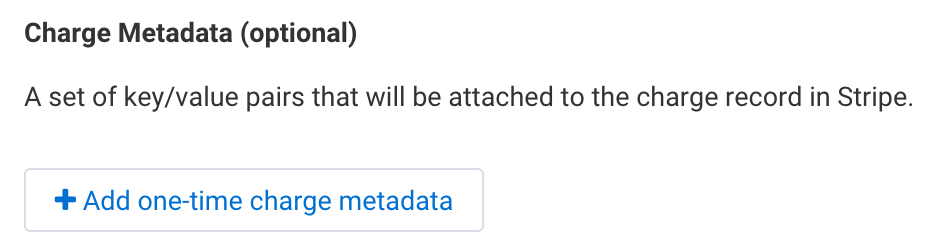
As with Steps 2 and 4, you can also choose to add Charge Metadata in the form of key/value pairs.
Once you've set up your recurring and/or one-time charges, you're ready to save your connector and begin testing. Make sure the connector is set to enabled at the top!
Testing vs. Live Transactions
Return to the information in Step 1 to change between your Test and Live accounts.
Processing Single and Recurring Payments with a Form
It is possible to process both single and recurring payments within a single form and a single connector. You can read more about this setup here.
Connector Behavior
Once you have your connector configured, it's important to understand the general behavior of the connector and how information is being sent to Stripe.
First, every time a form is submitted, a new customer will be created in Stripe. This customer will be subscribed to one or multiple plans, and/or a one-time charge will be made, depending on your setup.
Your new Stripe customer will have their Description field set to one of the following form fields, which are ordered by priority:
- Credit card holder's name
- Shipping recipient's name
Please note that the credit card holder's name is an optional field, and shipping details can be absent altogether. In these cases, your description field will remain empty.
When you save your connector, you may notice that some fields in your form are automatically updated. This is caused by our automatic validation feature.
Auto-Created Form Fields
When the Stripe connector is added to the timeline, it automatically adds 3 fields to its associated form. Below is the list of the field names and their corresponding labels:
- STRIPE_CUSTOMER_NN - Stripe Customer ID
- STRIPE_SETUP_INTENT_NN - Stripe Setup Intent ID
- STRIPE_PAYMENT_INTENT_NN - Stripe Payment Intent ID
NN is the unique connector ID, so if multiple Stripe connectors are added to the form, they will not interfere with each other and will be executed sequentially in the order defined in the timeline.
If the connector has a label, the label will be added to the field caption. As a result, the 3 field names will remain the same, but their captions will be changed automatically each time a connector label is edited in the Stripe Connector configuration screen.
For example, if the connector ID is 23 and the label is donation, then the following fields will be created:
- STRIPE_CUSTOMER_23 - Stripe Customer ID (donation)
- STRIPE_SETUP_INTENT_23 - Stripe Setup Intent ID (donation)
- STRIPE_PAYMENT_INTENT_23 - Stripe Payment Intent ID (donation)
Field Values
Field values can also be sent to Salesforce by mapping the field aliases in your Salesforce connector. To do this, the Salesforce connector must be located after the Stripe connector in the connector timeline.
To map these field aliases in your connector, you'll need to surround them with double percent signs as shown below:
- %%STRIPE_CUSTOMER_NN%%
- %%STRIPE_SETUP_INTENT_NN%%
- %%STRIPE_PAYMENT_INTENT_NN%%
Additionally, these field aliases can be used to control whether certain steps in your Salesforce connector are skipped. For example, if you would like to skip a step in your Salesforce connector if a payment is not made, you can do so.