Overview
The FormAssembly Form Transfer tool makes it easy for you to move your forms and connectors from FormAssembly Instance to Instance.
You can move your forms and connectors on your own without needing to start a support ticket, of course, we're here and ready to help if you run into difficulties!
The plan-based limitations of the form transfer tool are the following:
- Basic plans can transfer forms to Essentials, Team, Enterprise, and Government plans.
- Essentials, Team, Enterprise, and Government plans can transfer forms to other Essentials, Team, Enterprise, and Government plans.
- Essentials, Team, Enterprise, and Government plans cannot transfer forms to Basic plans.
Setup
Enable your Server: First, access the Admin Dashboard. You will need to add any servers that you want to transfer forms to or from. You can add them by going to Admin → Settings → Miscellaneous → Form Transfer Settings. The main FormAssembly server (Basic plan) is enabled by default:
Transferring Forms
Before beginning your Form Transfer, please make sure to read the Important Notes about Form IDs below.
- Archived forms cannot be transferred. They must be active for the Form Transfer tool to see them.
- Forms using Legacy Themes (non-editable in Theme Builder 2.0) cannot be transferred. A newer theme must be applied.
To start your Form Transfer, ensure you are logged in as the desired user on your transfer destination Instance. This may require you to do an admin override as the user you want to transfer forms to.
Next, go to the Form Transfer tool. It can be found here:https://[server sub-domain].tfaforms.net/form_transfer/

From here you will need to select the server to log into. Select both the server you will be copying forms from and the server you will be copying forms to. Select one on the right and one on the left; it does not matter which server is on which side.
Select the one that you want to connect to and choose to log in.
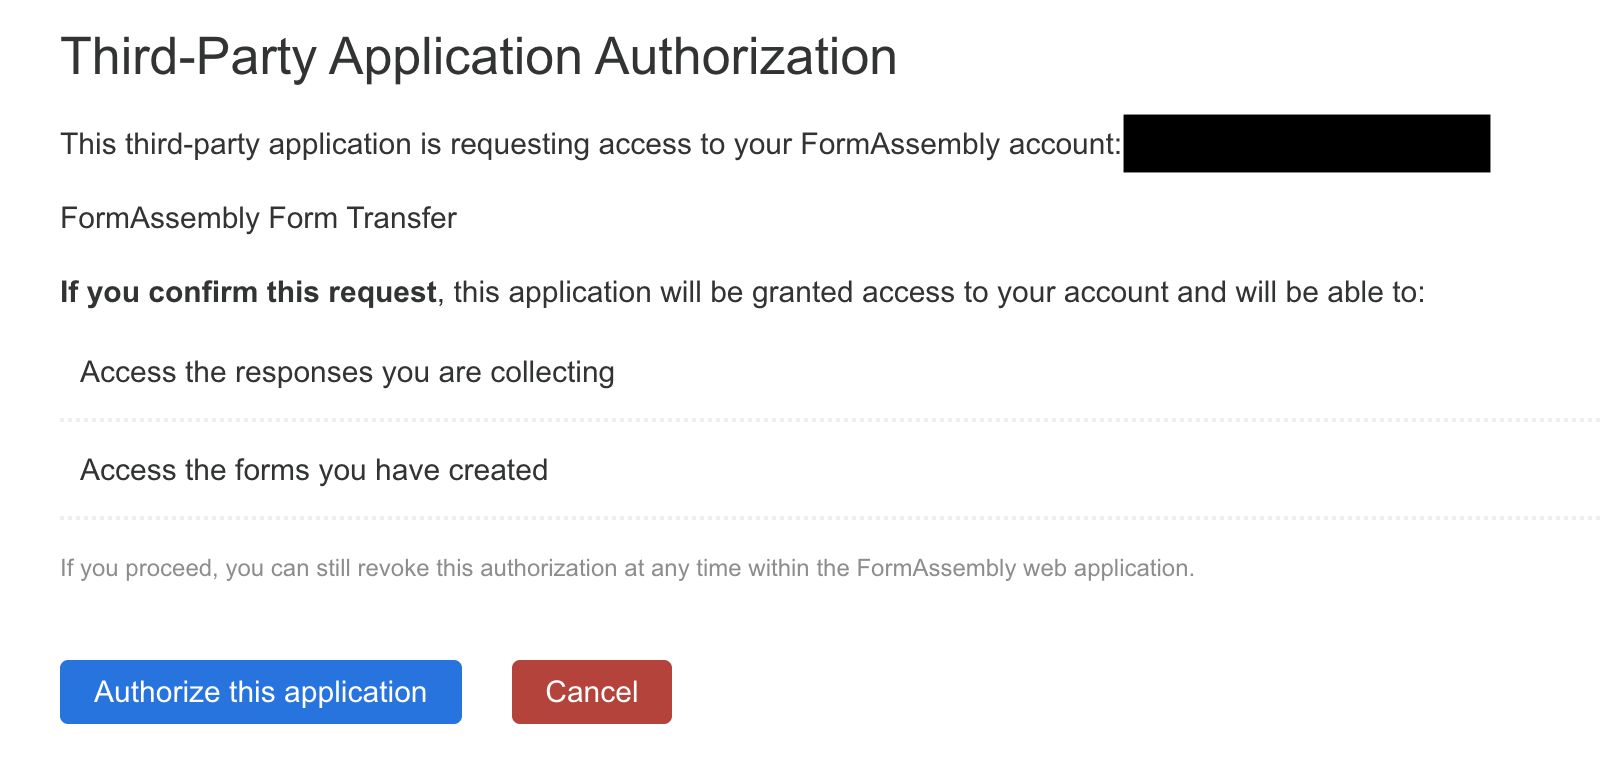
Once there you will need to authorize the external access:

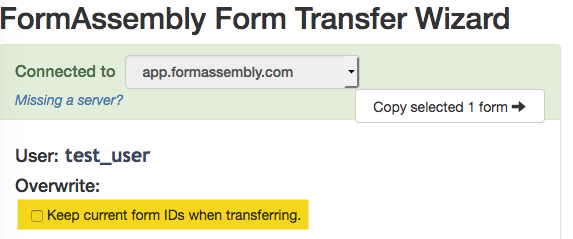
After logging in, select the forms you want to move over and choose "Copy Selected # Forms".
If you do not see any forms after authenticating, try refreshing the webpage without selecting "Log out all connections."

After that, you're ready to go! Your new forms will have been transferred over to the server you selected.
If you get any red exclamation points (!) when copying your forms, try selecting fewer forms and copying them in batches.
What Gets Copied
The Form Transfer tool essentially copies the form to a new location, so the form will still be available in its original location once the transfer is complete.
When you transfer a form, the connectors and theme will be transferred along with the form.
The only things not transferred are the Form Settings on the display, configuration, and notification tabs, any associated images uploaded into a form, and response data (including form attachments).
You may reconfigure your notification and display/processing options on your new form once it has been transferred. Currently, we have no way of transferring response data or form images with the Form Transfer Tool, however, you may contact us to enquire further about this additional transfer service.
- Though the connectors are transferred, they must be reauthenticated in the destination location. Connectors may show an enabled state after transfer but may encounter errors at run if authentication has not been established.
- Additionally, if forms containing Dymanic Picklists are transferred, the Dynamic Picklists will also need to be reconfigured.
Predefined Content
If your Basic or Essentials plan account has Predefined Content saved which you would like to transfer, you can check the "Copy over predefined content" checkbox.
If you do not have a Basic or Essentials plan account and would like to transfer Predefined Content to your Team plan or above account you can reach out to our Support team for assistance.
Important Notes
If you are transferring your forms to an Essentials plan or higher Instance, you will need to update any links pointing to the form. The links should reflect the URL of your newly transferred forms. The correct URL may be located on the Publish page of your form.
To overwrite an existing form in the destination location, be sure to check the box labeled "Keep current form IDs when transferring."

Transferring Form Ownership within the Same Instance
To transfer ownership of a form to another account within the same FormAssembly Instance, please refer to these documents on Form Collaboration and Form Administration.
