Introduction
You can use FormAssembly's HTTPS connector to create subscribers in Mailchimp.
If you are working with Groups in Mailchimp, this page will provide additional information.
Finally, it is important to note that you cannot update subscribers through FormAssembly's HTTPS connector, only create new subscribers. In other words, once a respondent has subscribed through a form, they cannot subscribe again to a different group.
Requirements
- FormAssembly HTTPS Connector
- FormAssembly Essentials plan and higher, or legacy Professional and Premier plans
Subscribe respondents to a mailing list
Before getting started, we need to get some information about your mailing list in Mailchimp.
1. Log in to Mailchimp and navigate to Forms | Other forms 2. Click the Create new form button at the top of the page.
3. Select the Embedded form type.
4. Assign a form name and select your audience, then click Continue to form builder.
5. Finish creating your form in Mailchimp, then click Continue.
4. Locate the form URL in the Embedded Form Code section
https://ACCOUNT.usXX.list-manage.com/subscribe/post?u=XXXXXXXXXXX&id=XXXXXXX

7. Separate the domain and path from the u and id query parameters:
https://ACCOUNT.usXX.list-manage.com/subscribe/post
u=XXXXXXXXXXX
id=XXXXXXX
8. In FormAssembly, make sure your form contains fields to collect the respondent's First Name, Last Name, and Email Address
9. Add an HTTPS connector to your form and click Configure
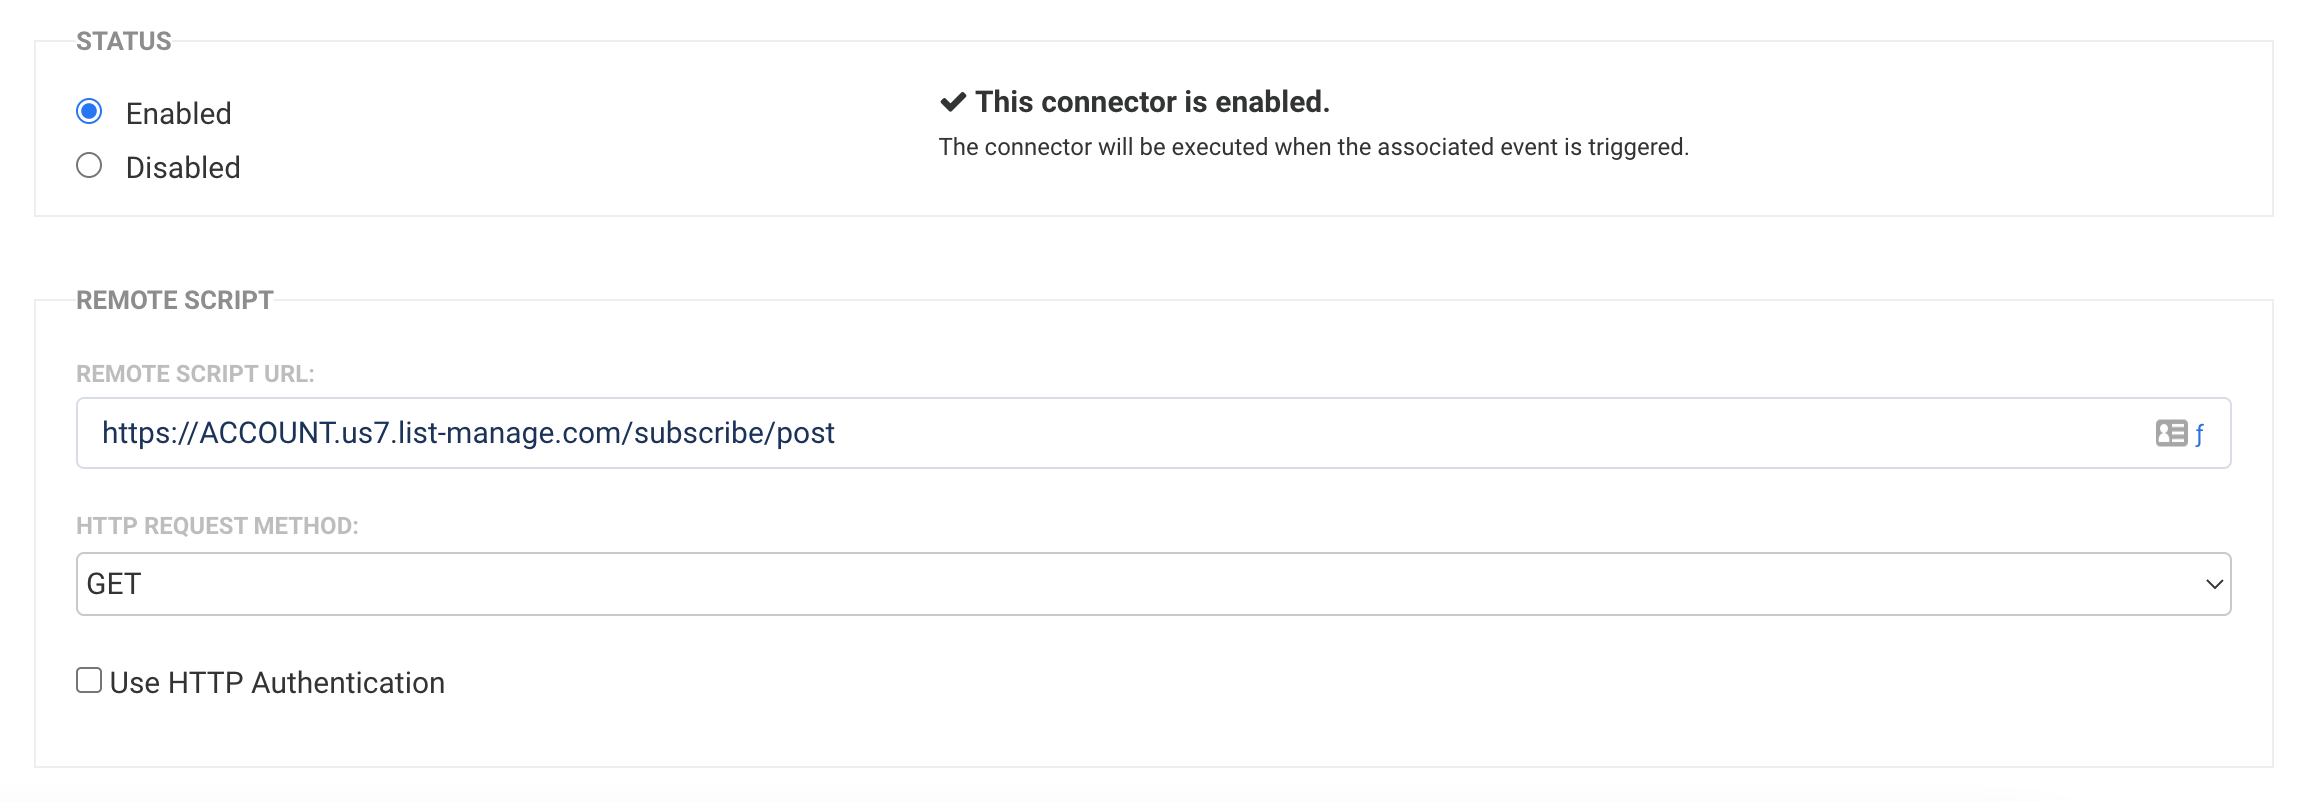
10. Paste the domain and path of the form URL from Step 7 into the Remote Script URL field and set the HTTP Request Method to GET
11. Scroll down to the Field Mapping section. You will notice there are two columns: Your Form Fields and Will Be Submitted As...
- Your form field for the subscriber's Email address should be submitted as: MERGE0
- Your form field for the subscriber's First Name should be submitted as: MERGE1
- Your form field for the subscriber's Last Name should be submitted as: MERGE2
- Under Additional values, enter the u and id query parameters from the Signup form URL, and enter them as shown in the image

12. Save your changes and enable the HTTPS connector
Subscribe respondents who opt in with a checkbox
To have your respondent opt in to your mailing list with a form checkbox, follow the steps below after completing the video steps:
1. In Form Builder, add a new checkbox to your form
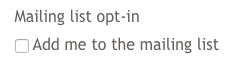
(Question labels may be hidden under Presentation -> Label Placement)
2. Save your changes
3. Locate and make note of the field aliases for your:
- email field
- checkbox field
5. Navigate back to the HTTPS connector and click Add another custom field
6. In the Additional values column, add an @IF formula similar to the one below:
@IF(%%tfa_checkbox%%,%%tfa_email%%,"")
- tfa_checkbox should be replaced by the field alias of your checkbox
- tfa_email should be replaced by the field alias of your email field
7. In the will be submitted as... column, type in MERGE0
Your final result will look similar to the screenshot below:

8. Save your changes
Now, respondents will only be added to your mailing list if they check the box!