Overview
As an administrator of your FormAssembly instance, you can add, deactivate, restore, or edit users. You are also able to set and refine the permissions available to your users.
Requirements
- Must be part of an Essentials plan or above.
- Administration permissions must be enabled for your user account.
Accessing the Admin Dashboard
To perform the tasks below, you will need access to the Admin Dashboard. This can be found by going to the dropdown menu next to your name, at the top of the FormAssembly app. From here, you'll be able to select "Admin Dashboard".

Licensing & Usage
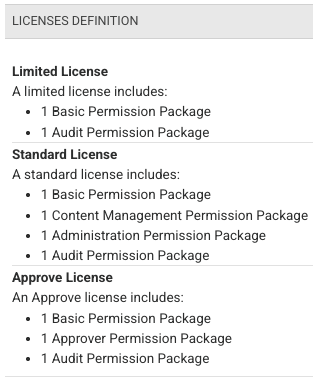
The Licensing & Usage page displays information about the licenses and add-ons available to your FormAssembly instance, and usage information for permission packages and Advanced Document Generation.
Access this page by selecting User Management | Licensing on the left-side menu.
Adding a User
- On the left-side menu, select User Management | Add New User
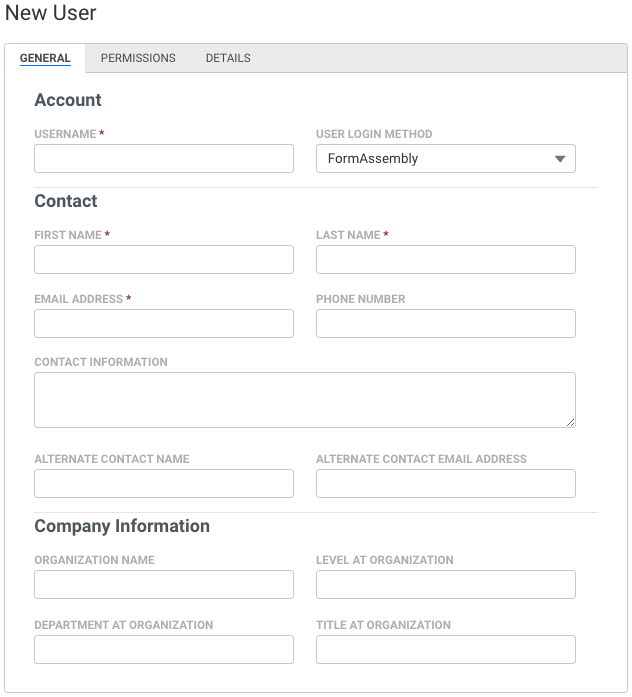
- Select a login method from the following User Login Method dropdown options:
- FormAssembly: The standard FormAssembly account login method uses your FormAssembly username and password.
- SAML: Uses your configured SAML identity provider as the login method.
- To configure SAML for your instance, refer to our SAML authentication article.
- LDAP: Uses your LDAP (or Active) Directory as the login method.
- To configure LDAP for your instance, please open a case with FormAssembly Support and refer to our LDAP authentication article.
- Fill in the Contact and Company Information sections.
- Open the Permissions tab to add user permissions. To learn more, continue to the User Permissions section below.
- Click Save User at the top of the page to finalize user creation.
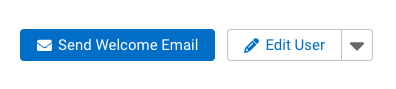
- After the page refreshes, click Send Welcome Email to send an email to the user allowing them to create a password for their account. Once completed, the user can use the application immediately.


User Permissions
To add, remove, or edit user permissions, follow these steps.
- On the left-side menu, select User Management | All Users
- Locate the user within the All Users list.
- Select the user and navigate to the Permissions tab.
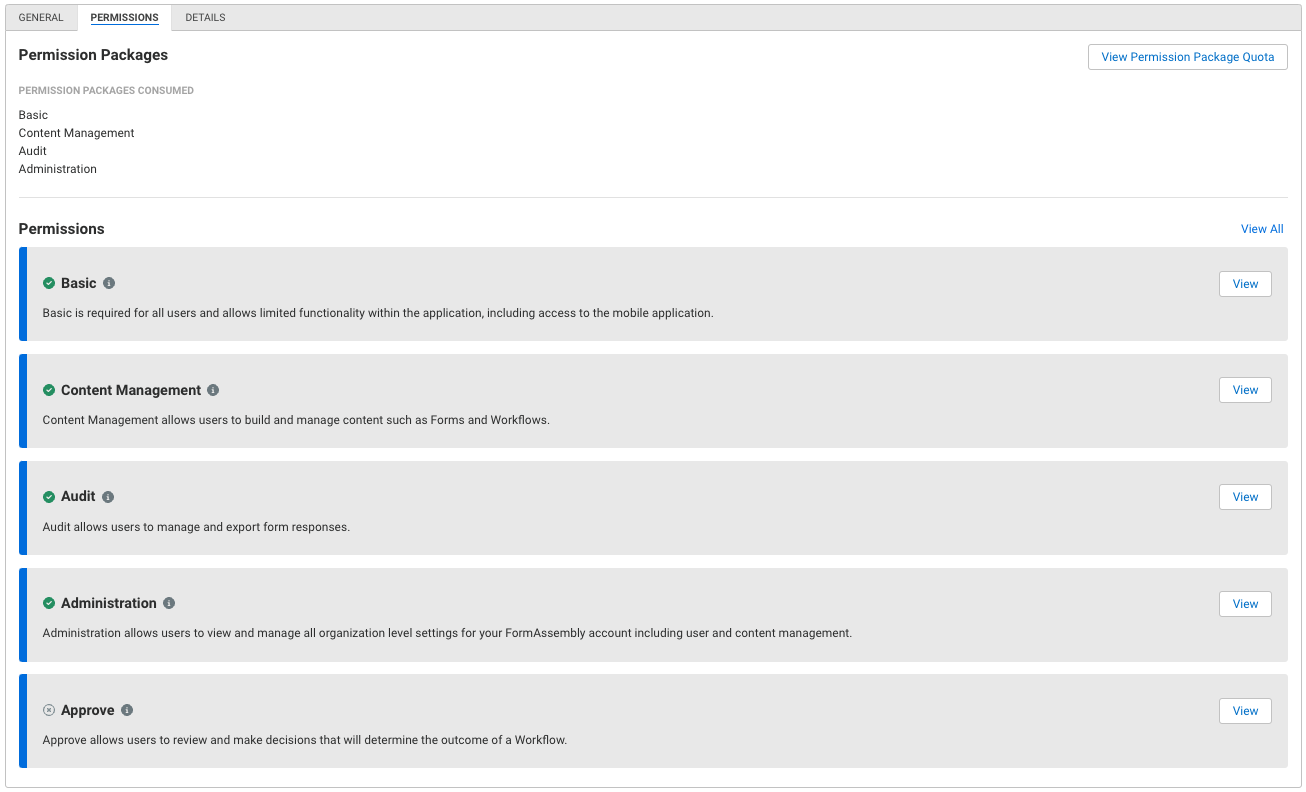
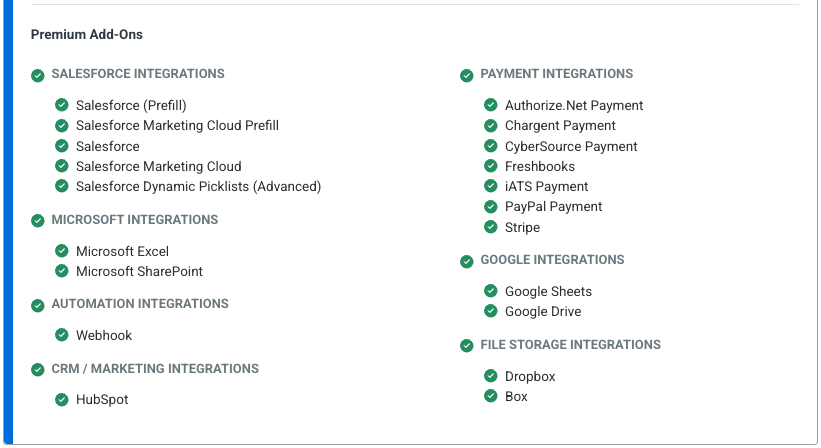
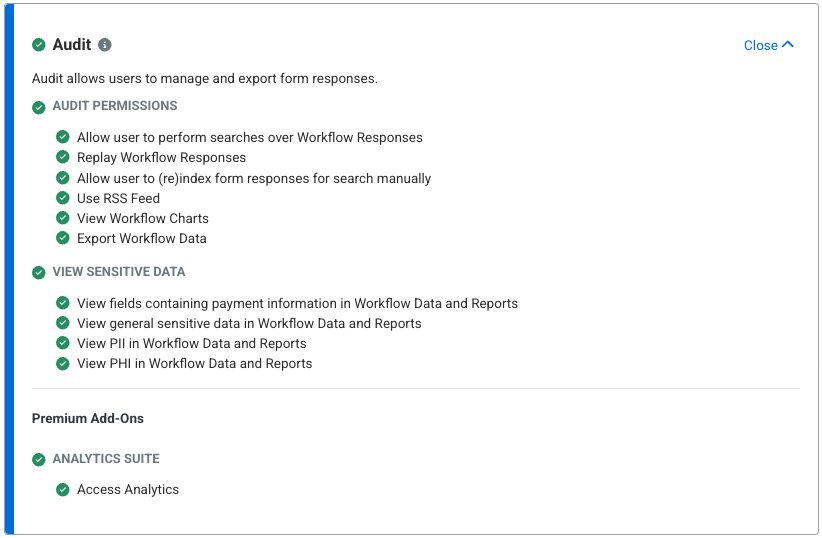
The Permissions tab displays each of the available Permission Packages. You can apply any Permission Packages with an available quota to the user.
Once you have selected the Permission Packages that will apply to the user, you can expand them further by clicking View. This will expand the list of available permissions for fine-tuning, grouped by Permission Sets.
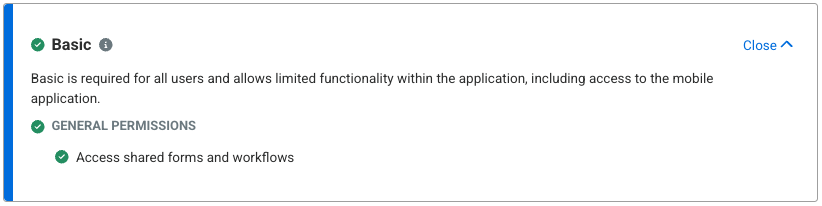
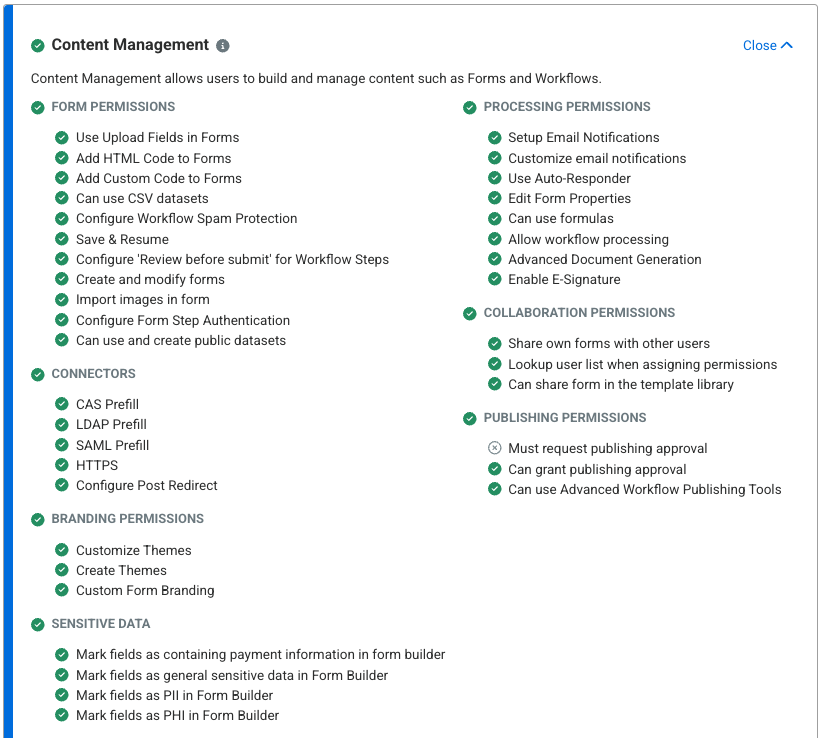
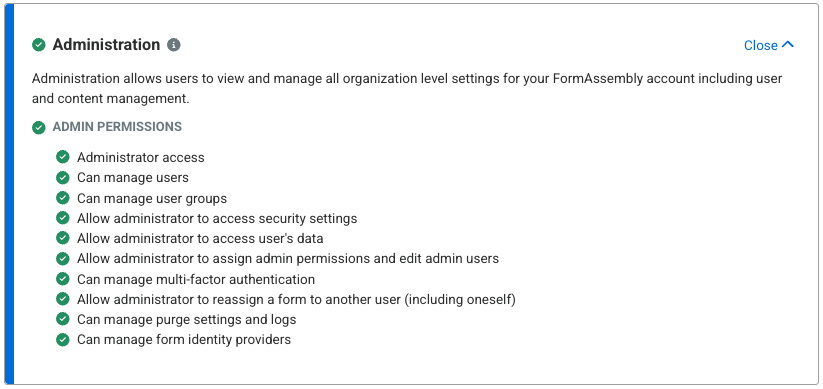
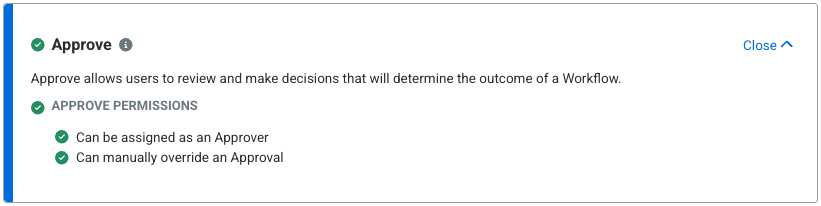
Selecting the checkbox on a Permission Package will also apply all related permissions to the user. You can then uncheck any permissions you would like to remove.


Deactivating a User
- Forms and responses belonging to a deactivated user are permanently deleted. To retain forms owned by a user you are planning to deactivate, reassign their forms to an active user before completing deactivation steps.
- If the user to be deactivated is a Collaborator on a form or workflow, remove the user from the sharing options on the form or workflow before deactivating the account; otherwise, issues may occur with the related form/workflow.
- A deactivated user may no longer log in and access their data.
- On the left-side menu, select User Management | All Users
- Locate the user within the All Users list or through the Search.
- From the View User drop-down menu in the Actions column, select Deactivate User. This opens the Confirm User Deactivation modal.
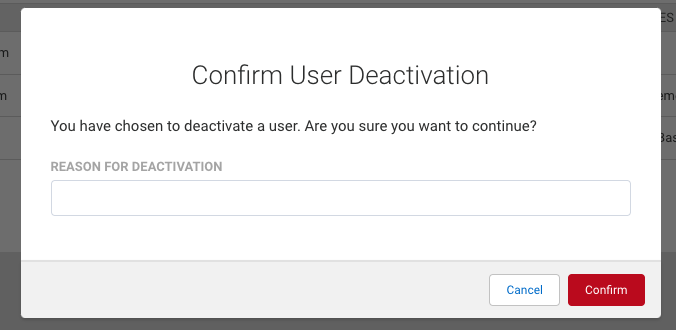
- If the selected user does not own a form, enter a reason for the deactivation and click Confirm.

If the selected user is a form owner, select whether to transfer the user’s forms to another user.
Option 1 - Don’t Transfer Any Forms

- Select “No, delete all forms and associated response data owned by this user”.
- Enter a reason for the deactivation and click Confirm to complete the user deactivation.
Option 2 - Bulk Transfer Forms to a New Owner

- Select “Yes, I would like to transfer all forms owned by this user to another user”.
- Select a new owner from the TRANSFER FORM OWNERSHIP TO THIS USER menu.
- Enter a reason for the deactivation and click Confirm to complete the form transfer and user deactivation.
Editing a User
- On the left-side menu, select User Management | All Users
- Locate the user within the All Users list or through the Search.
- Click Edit and proceed to make any necessary changes.
- Click Apply when finished.
Restoring a User
- Locate the user on the All Users page.
- Click on the Username or select the Edit button for the desired user.
- In the Details tab, click the Reactivate User link.
Changing/Replacing an Account Admin
If you need to change the admin listed on your account, you can edit your existing admin's information to update it. All FormAssembly forms will then be under the new admin's account. Please make sure that your new admin has access to your FormAssembly account before leaving your organization or changing roles.
You will also need to contact your Customer Success Manager so that we can update your account information in our customer database.