Overview
SAML (or Security Assertion Markup Language) is a method for ensuring that data transmissions are secure, and, in the case of FormAssembly, for making sure that only certain authorized respondents can access your forms. More information on setting up SAML authentication for FormAssembly can be found here.
Requirements
- You must be on a Team plan or higher.
- A copy of your SAML Metadata
- A set of test login credentials
Set Up Salesforce as an Identity Provider
If you would like to use Salesforce as your SAML identity provider, and you have not already done so, please follow the steps in Salesforce's documentation.
Configure FormAssembly as a Connected App
To configure FormAssembly as a connected app, you will need to follow these steps:
- Step 1: Download the Metadata File
- Step 2: Configure the FormAssembly Instance
- Step 3: Setup SAML
- Step 4: Manage Profiles
Step 1: Download the Metadata File
- In Salesforce, go to Setup → Identity → Identity Provider.
- Click to download the metadata file.

Step 2: Configure the FormAssembly Instance
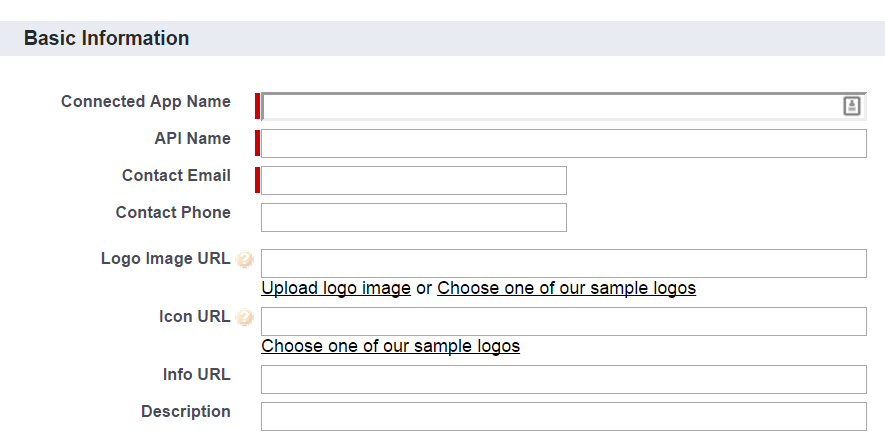
- Go to Setup →Create → Apps and scroll down to Connected Apps and select New.
- Complete the basic information:
- Scroll down to Web App Settings and check Enable SAML.
- Complete the values as follows where instancename.tfaforms.net must be replaced with the actual domain name for the desired FormAssembly instance.
- Entity ID: https://instancename.tfaforms.net/saml/metadata
- ACS URL: https://instancename.tfaforms.net/saml/index?acs
- Subject Type: Username
- Name ID Format: urn:oasis:names:tc:SAML:1.1:nameid-format:unspecified
- Leave all other settings empty and click Save

Step 3: Setup SAML
Step 4: Manage Profiles
- In the Connected App Detail page for the app, go to Manage Profiles
- Select the profile(s) who should be able to authenticate against the Salesforce Identity Provider.