Overview
Applying the branding options at the Admin level allows the forms to be uniform and follow the style guidelines of your organization. Doing so also reminds respondents who they are communicating with and they are more likely to complete the form.
Requirements
- FormAssembly Essentials plan and higher, or some legacy plans
Branding
From the Admin Dashboard in FormAssembly, you can customize the layout of public pages to reflect your organization’s visual identity. Public pages includes all forms and form processing pages, e.g., the Preview Before Submit page.
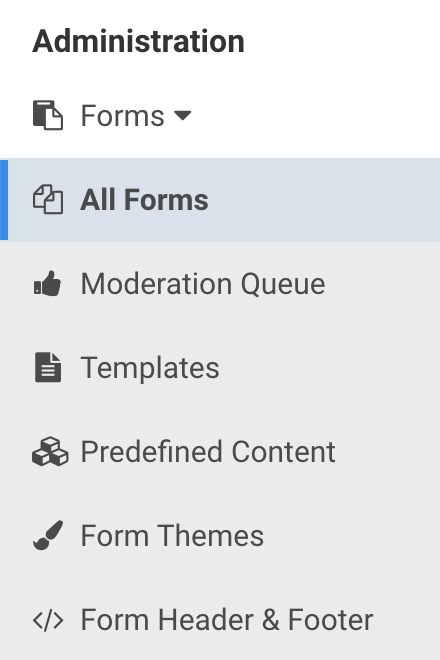
For individual account level branding, browse to: General Settings → Branding
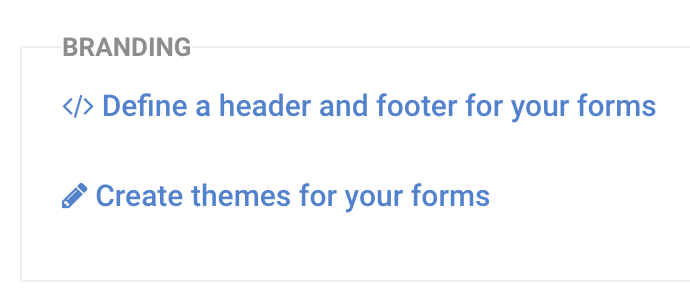
- Click Define a default header and footer for all forms.
- Next, you'll see three tabs: HTML <HEAD>, to load your own scripts or stylesheets, and Page Header and Page Footer, to define a customized header and footer for public pages.
- In the HTML <HEAD> tab, you may enter HTML markup for the page’s <head> element. This typically includes META, SCRIPT or LINK tags. If you’re not sure what to put here, it’s safe to leave it empty.
- In the Page Header and Page Footer tabs, you can provide the HTML markup that will be inserted before and after the form and other processing-related content.
- Check the box Show HTML Editor if you prefer to use a rich-text editor.
- Upon clicking Save, the preview should reflect your changes on a sample form.
For enterprise admins, this feature may also be used at the account level. Users with the Custom form branding permission can override the default branding with their own by accessing the Admin Dashboard → Forms → Form Header & Footer. See Branding Documentation for more details.
Themes
Form themes set the look and feel of your web forms: colors, styles, fonts, etc. The FormAssembly Enterprise Edition includes a Theme Editor where you can quickly and easily design new themes that match your organization’s visual identity, design guidelines, or personal taste. By default, themes are private and can only be used by their creator. Only an Administrator can choose to make a theme publicly available.
Creating a New Theme
- Browse to: Admin Dashboard | Forms | Form Themes
As an Administrator, you can create a new theme from the Form Themes list by clicking New Theme. Users with the "Create Theme" permission can create themes from the Form Builder if they do not have access to the Admin Dashboard.

Managing Themes
- Browse to: Admin Dashboard | Forms | Form Themes
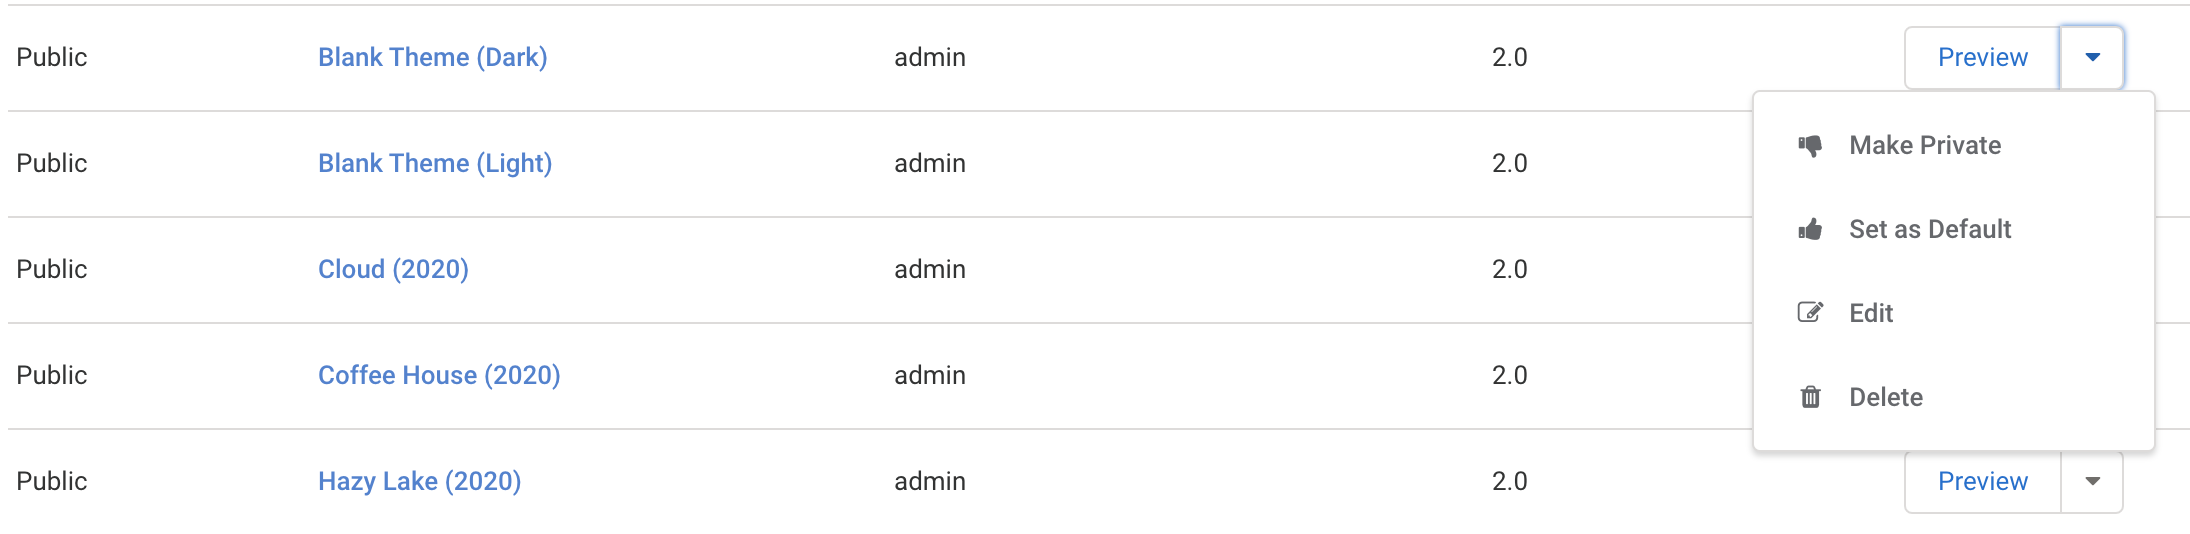
In the Form Themes list, you may preview, edit, or delete themes as needed. If you'd like to make a theme public, expand the options menu by hovering over the small triangle next to Preview and select Make Public. The theme will then become available in the Form Builder for all users in the Themes | Default menu. If the theme is public, you can use the same menu to change it back to private again.
Modifying Themes
Only the owner or an Admin can modify the theme. Users who adopt a public theme for their form will have to save the theme under a new name. Even if users save a public theme under the same name, they'll see it under their "Custom" themes, not their "Default" themes.
Additionally, themes that are marked as public cannot be deleted from within the Theme Editor. Instead, they must be deleted directly from Admin Dashboard → Themes. This is true even if you are the theme owner.