Overview
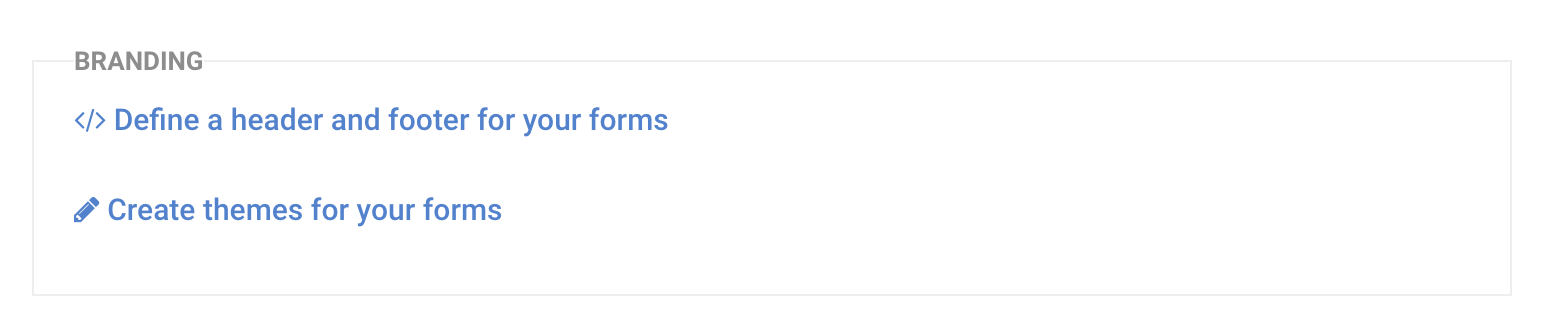
If you're an Essentials plan and above user, you'll find the Branding feature on the General Settings page. Click the Define a header and footer for your forms link to open the Branding Editor:
Account Branding
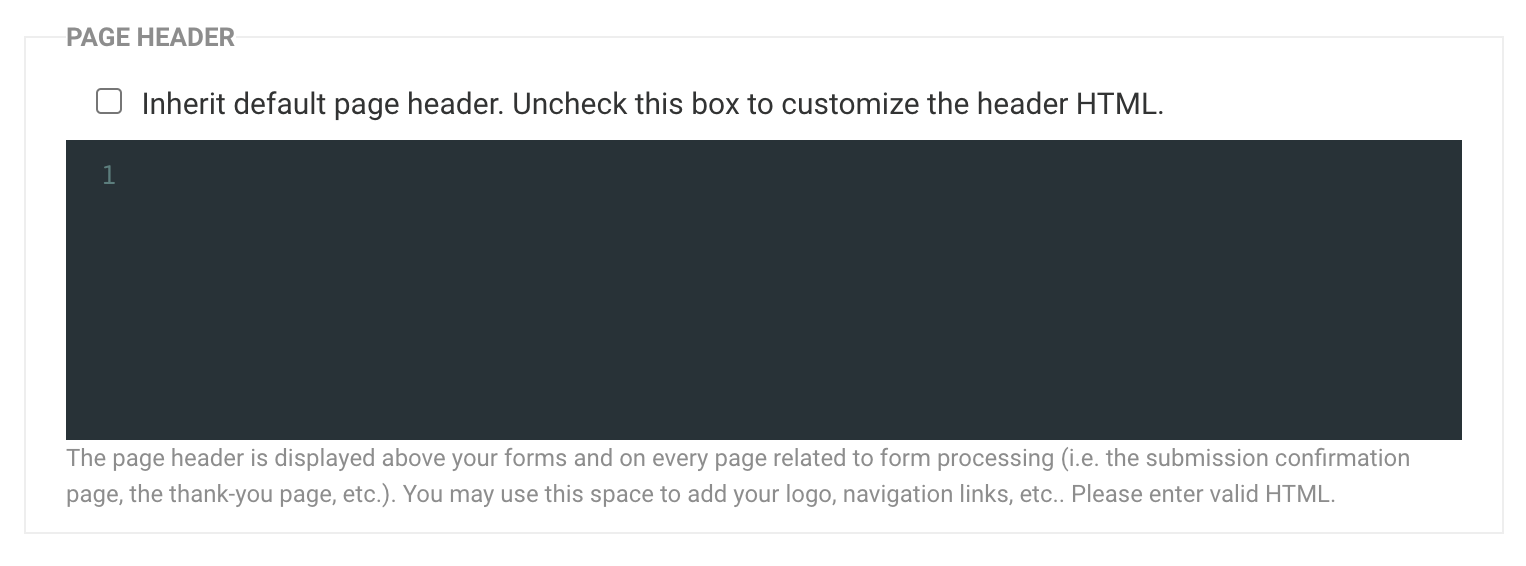
Once there, you'll see three checkboxes: Page Header, Page Footer, and HTML <HEAD>.

By default, all boxes will be checked and the default header will be blank. If you want to add a custom header and/or footer, uncheck the box of the section you would like to customize.
A text area will appear, where you can add your company's logo, navigation options, links, legal terms, and conditions, or contact information. You can style these as much as you like, and copy existing HTML to ensure that your forms fit seamlessly within the rest of your website.
HTML <HEAD>
The HTML <HEAD> section will not change the appearance of your form directly. However, you can load custom CSS and JavaScript, as well as add any metatags you would like to include on all your forms. Anything you add to this section must be valid HTML.
The header, footer, and <HEAD> section will be applied to all your forms, so you only have to set it up once.
- If you publish your forms with the REST API, branding will not be applied.
- If you embed your form's HTML into your own page, branding will be applied only if you copy the full HTML code. The code snippet will not include branding settings.
HTML Examples
Add an Image
When adding an image, use the URL (web address) of the image for the image source. <img src="url">
<img src="dog.jpg" alt="Cute Dog" width="42" height="42">
Link an External Style Sheet
<link rel="stylesheet" type="text/css" href="theme.css">
Display Text
<p>This is some text in a paragraph.</p>
Add a Hyperlink
<a href="https://www.google.com">Click here to go to Google!</a>
List with Bullet Points
<ul>
  <li>Coffee</li>
  <li>Tea</li>
  <li>Milk</li>
</ul>