Introduction
Thanks to FormAssembly Workflow, forms are no longer single-purpose data collection tools. A single form can be used in numerous workflows to further countless customer journeys. As an individual piece of multiple data collection puzzles, the data collected on a single form won't be enough to give you a full picture of your response data. This is where Workflow Responses come into play.
Workflow Responses show the data that has been collected by your workflows in their entirety. By using Workflow Responses, you will be able to review and take action on your collected data.
Workflow Responses List
The Workflow Responses List provides an overview of the responses collected from your selected workflow. On this page, you can quickly check that your workflows are being completed as well as the current step of each Workflow Response. To open your Workflow Responses page and view the Workflow Responses List, you can open the Workflow List and hover over the menu next to the workflow of your choice.

You can also navigate to the Workflow Responses List while in the Workflow Builder by clicking on the "Responses" option from the menu on the left.

You will then be able to view a list of complete and incomplete responses to your workflow.
Complete and In Progress Responses
A response that is complete will show a green check mark icon on the left-hand side of the Responses List. Additionally, the date and time will be shown under "Completed," and"Current Step" will be noted as “Complete”.

A response that is currently in progress will be denoted by a yellow clock icon, and the “Current Step” will show the currently in progress Workflow Step.

Workflow Response Records
By clicking on the "View" button next to any Workflow Response, you'll be able to open the Workflow Response Record to view additional data.

This data is separated into two distinct sections: metadata and steps.
Metadata
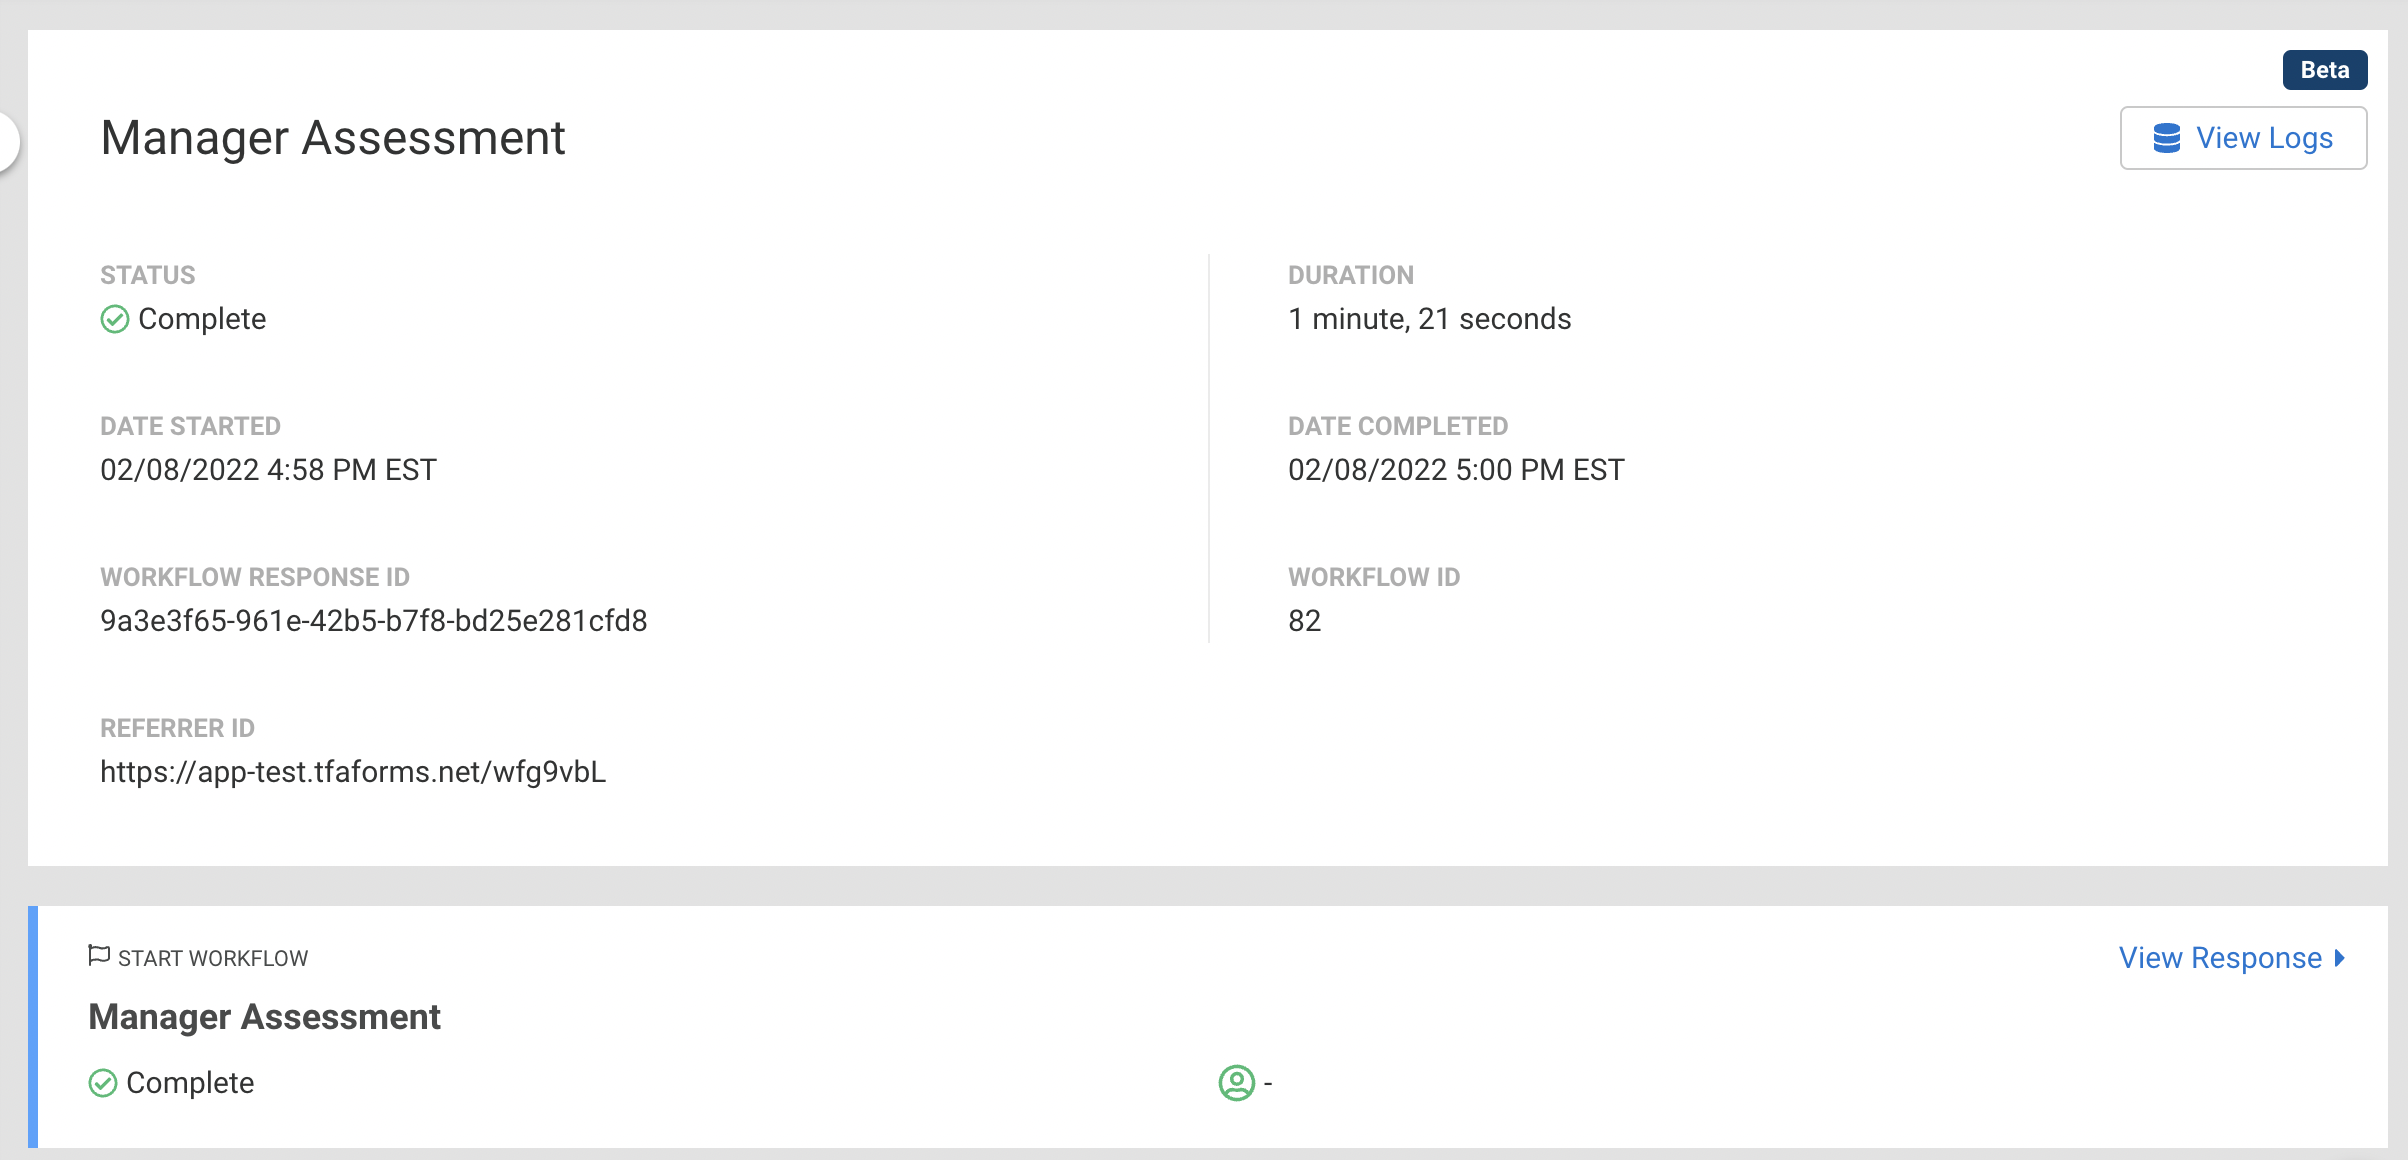
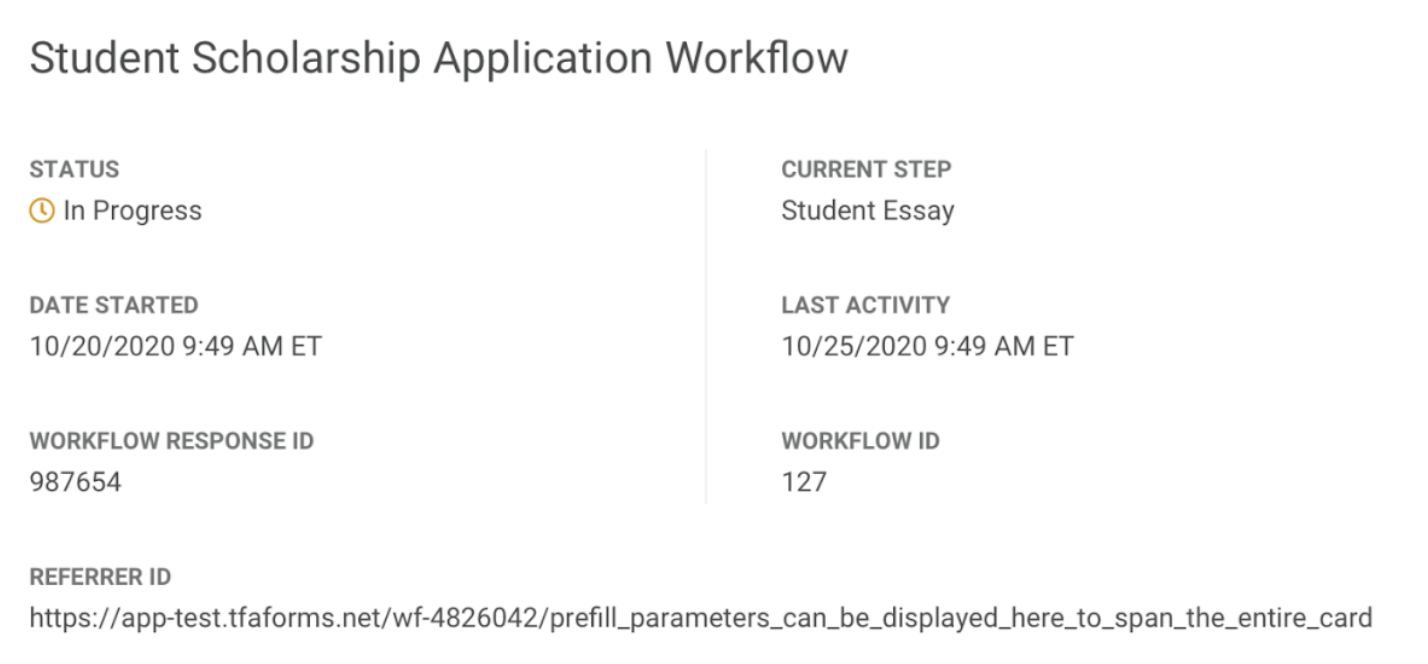
The Response metadata is shown at the top of the record. This includes information such as Logs, Response Status, Current Step, Date Started, Workflow Response ID, Workflow ID, and Referrer URL.
Workflow Logs are available in the Metadata section of the Workflow response. These logs record when each step of the Workflow was started and completed.
Steps
Each step in the Workflow is shown as a card below the metadata section with the step's status. Blue indicates the Step is complete, and yellow indicates a step that is still in progress.
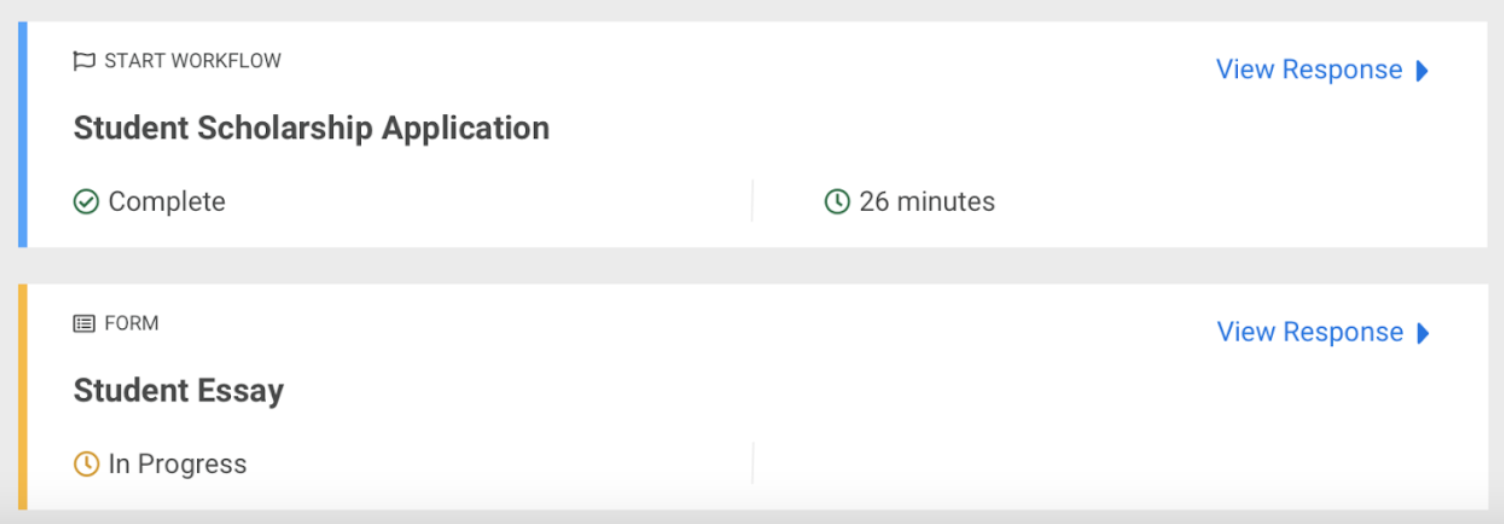
You can click the "View Response" link on any step to expand the Response Card. This will display additional response details such as the status and duration of the specific step, and the data collected by the form step for this response. If E-Signatures have been enabled for this step, it will also display an image of the E-Signature, a link to the E-Signature record, and note whether the E-Signature record has a status of Sealed or Not Sealed.
Additional response actions and the full report are housed on the Responses Page on the form. Reopening a response, or reporting will take place there.
Logs
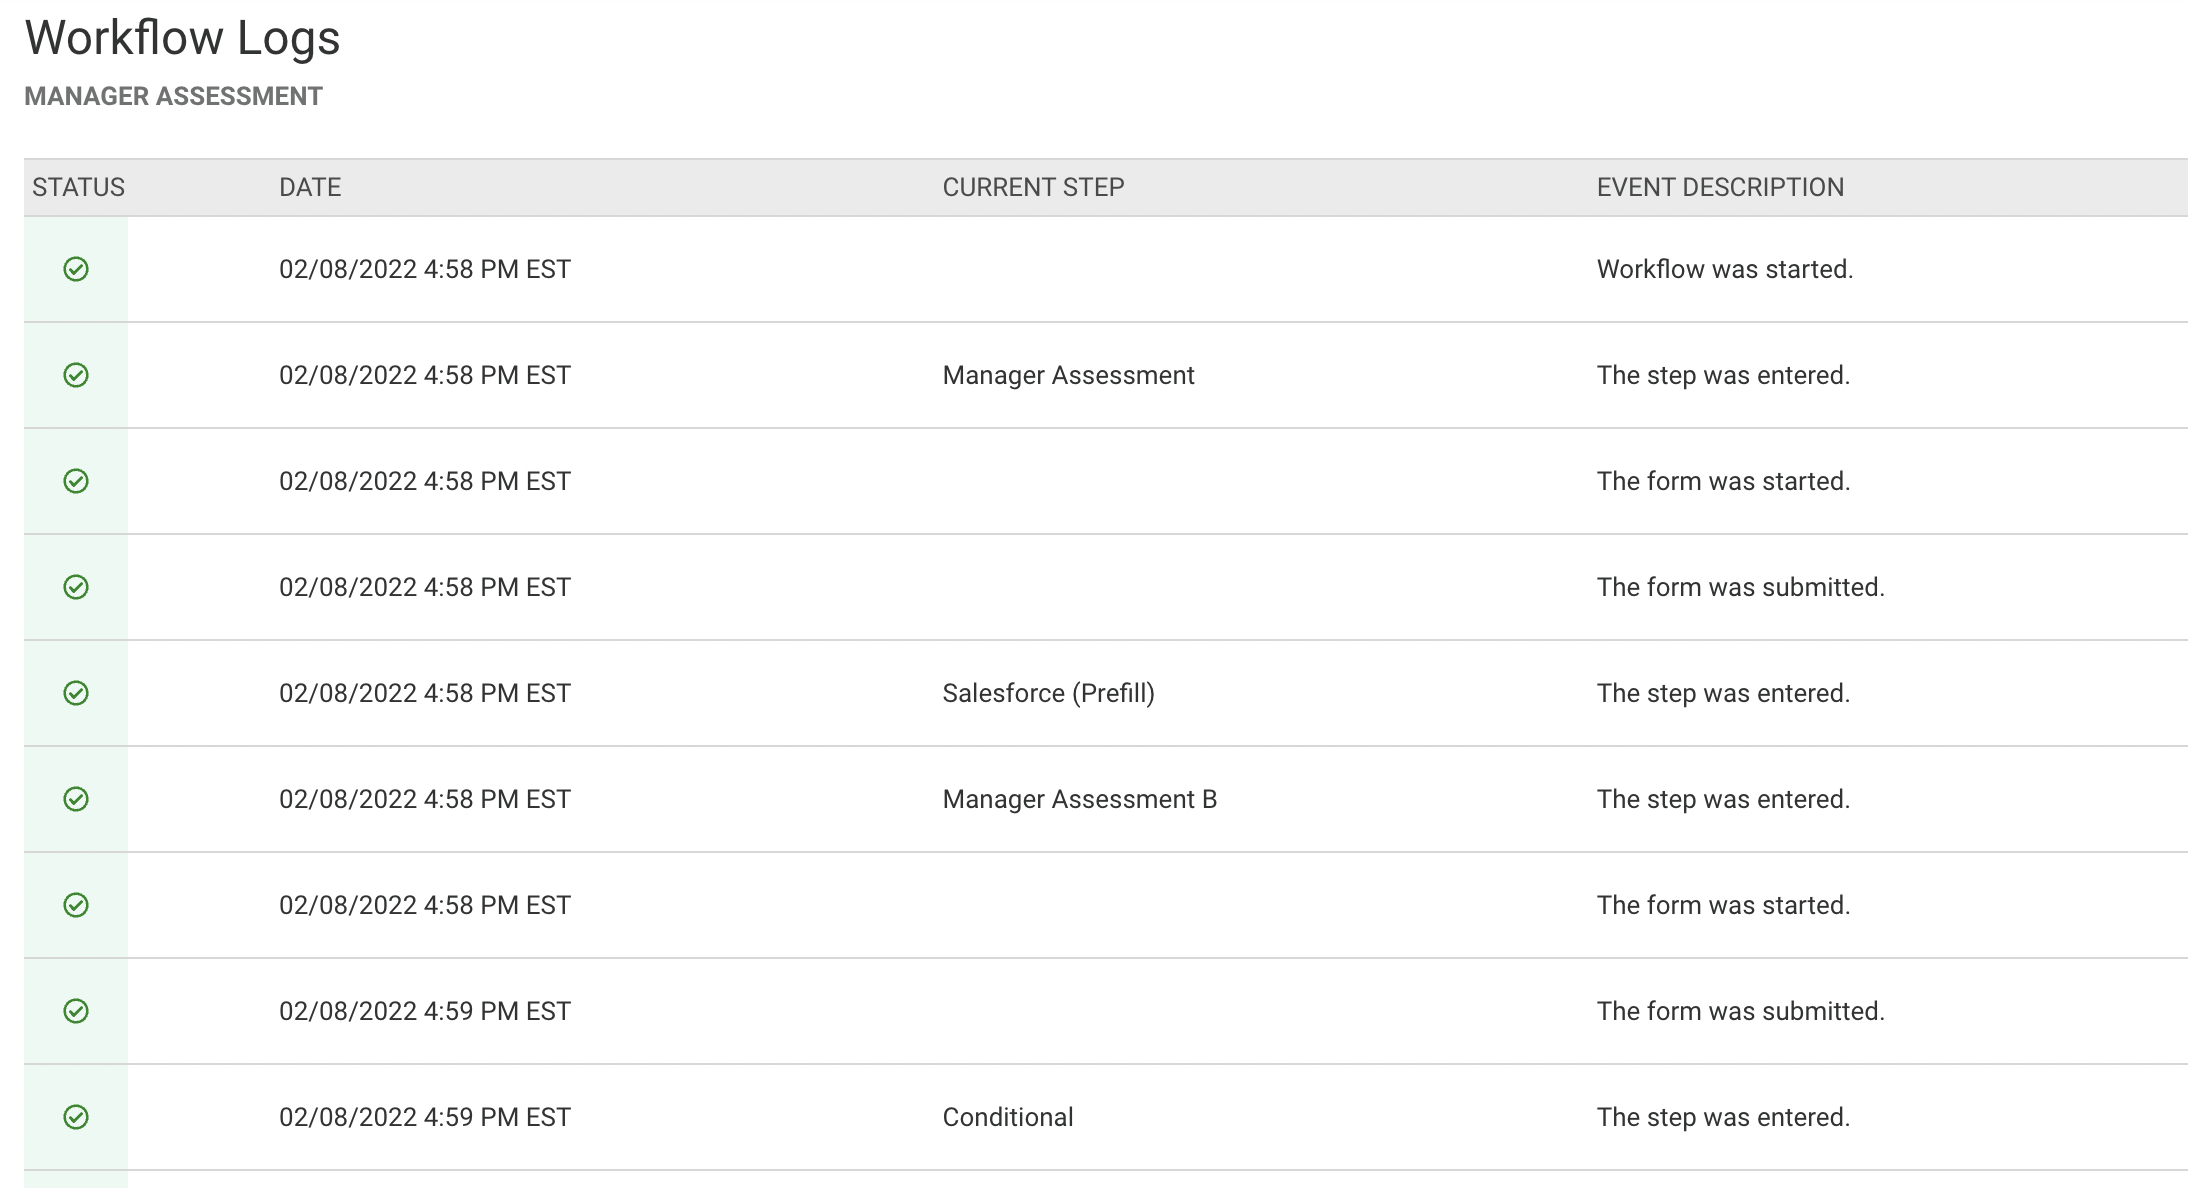
The Workflow Logs page allows you to view details about the events that occurred during the workflow process. To access this page, click the "View Logs" button in the upper right corner of the response record.
The logs show each event, along with the following details:
- Status
- Date
- Current Step
- Event Description
Connector Logs
Connector log information is available in the Workflow Logs mentioned above, but if you're looking for quick information specific to a single connector, you can view this within the connector itself on the Workflow Builder.
To access these logs:
- Click the connector on the Workflow Builder
- Select the Configure tab
- Click the Logs button

Send a Reminder Email or Reassign a Step
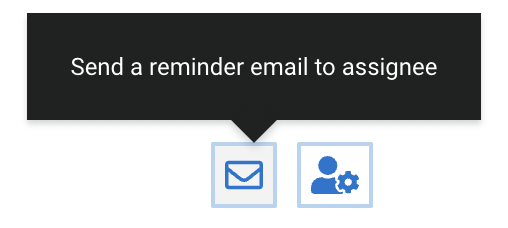
When a Workflow Step is “In Progress” or “Not Started”, it is possible to send a reminder email to the Workflow respondent or reassign the step to a new respondent.
To do this, open the response record in question and click on the Send Reminder or Reassign Step icons.

Send Reminder
This action will allow you to send a reminder email to the respondent. If the step was assigned to “the previous form respondent” and no email address has been collected, a modal will pop up which can be filled out with the respondent’s details.

The following details will need to be filled in:
- Assignee Email Address
- Requester Name
- Requester Email Address
- Reason for Request (optional)
After clicking “Send Reminder,” an email will be sent to the assignee with a reminder to continue the workflow.
If the form was assigned to a specific email address, the Assignee Email Address field will be auto-populated with that email and will be locked. The requester's name, email address, and reason for the request will be editable.
If you would like to change the email address for the assignee at this stage, please continue to the next section to reassign the step.
Reassign Step
This action will allow you to assign a step to a new respondent's email. Clicking on the icon will cause a modal to pop up, which can be filled out with the details of the new respondent/assignee.

The following details will need to be filled in:
- New Assignee Email Address
- Requester Name
- Requester Email Address
- Reason for Request (optional)
After clicking “Reassign Step,” an email will be sent to the new assignee with a link to continue the workflow.
- After the successful reassignment, the previous assignee will get a “Form not available” message if they click the original assignment link.
- Reassignment emails expire after 7 days by default. Follow this link for more information about link expiration.