Overview
You can use the Salesforce Prefill Connector to prefill a form with values from related objects and records using only one parameter in the URL. This can be helpful for creating a short and simple URL while still maintaining complexity within your connector by pulling data from multiple Salesforce objects.
For example, you can use this method to locate and prefill data from an Account record by using details from a located Contact record.
Requirements
You'll need FormAssembly's Essentials plan or above, and the Salesforce Prefill Connector enabled for your form.
- REST API
- WordPress
- Salesforce Experience Cloud (formerly Community Cloud)
- Hosted by FormAssembly
Prefill Using Dependent Steps
Dependent steps can be useful in organizing the flow of data and defining relationships between related records within the Salesforce Prefill connector. The dependent step will only run if the parent step has been successfully processed.
- In the connector, select Configure your first lookup.
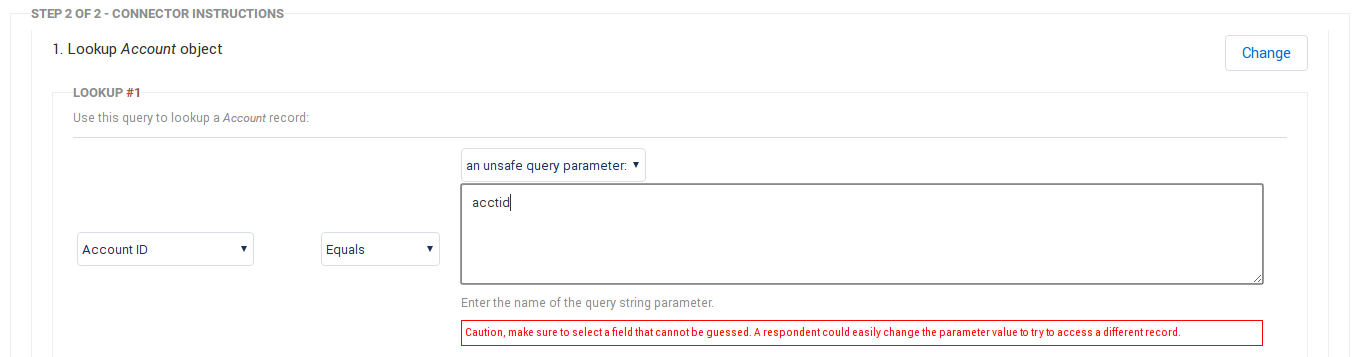
- In the select an object drop-down menu, choose the first object in Salesforce that you would like to look up. This object should be the object you will use either as the parent record or the record that contains data that can lead you to related records.

- Enter a value to represent the parameter. This is very flexible, and it's up to you, just make sure you use a text value with no special characters or spaces. In this case, the value is acctid, short for account ID.
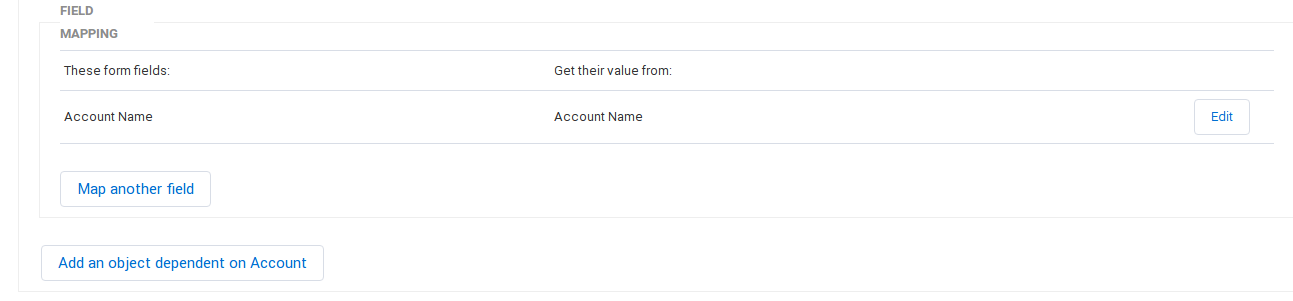
- Map the fields for this object.
- Select OK at the top of the connector step.

- Click the button Add an Object dependent on _____ where the blank will be the name of the parent object.
- This new step will automatically be set up as the child. These objects don't need to have an actual parent-child relationship in Salesforce. Instead, think of it as a child step that will only run when the parent step succeeds.
- In the Lookup Query for your new child step, select the Salesforce field that references the object in the parent step, and then set the lookup query to be equal to a lookup result of the object above.
- Select the ID of the parent step's object.

- Map the fields for this step.
- Repeat steps 6-9 to add other dependent objects/steps if necessary.
- Direct your respondents with a prefilled link.


Example: Locate an Account Record with Contact Details
Looking up an Account object in Salesforce can often be difficult, as users rarely know their Account ID and, if they do know their Account Name, they might misspell it or use an abbreviation, which would cause it not to be recognized. Because of this, it is often easier to lookup an Account object by going through the Contact object first.
In Salesforce, any Contact record that is associated with an Account record will have that Account ID stored within it. Because of this, we say that the two objects are related.
If we have a user's contact information, such as their email or last name, we can use that to lookup their Contact record and then use that Contact record to lookup their Account, as long as the two are related.

This process allows you to prefill information from a user's Account record, even though the user might not know their Account ID or any type of identifying information from their account.
To create a lookup like this, begin in the Salesforce Prefill Connector by adding a Contact lookup. We will be using an email lookup for this example, with an unsafe query parameter of "email."
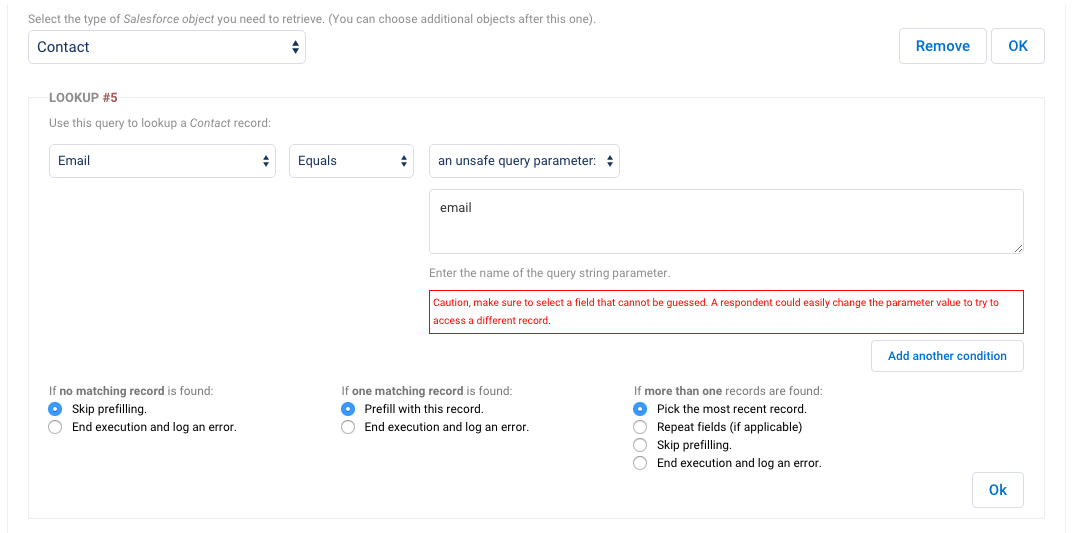
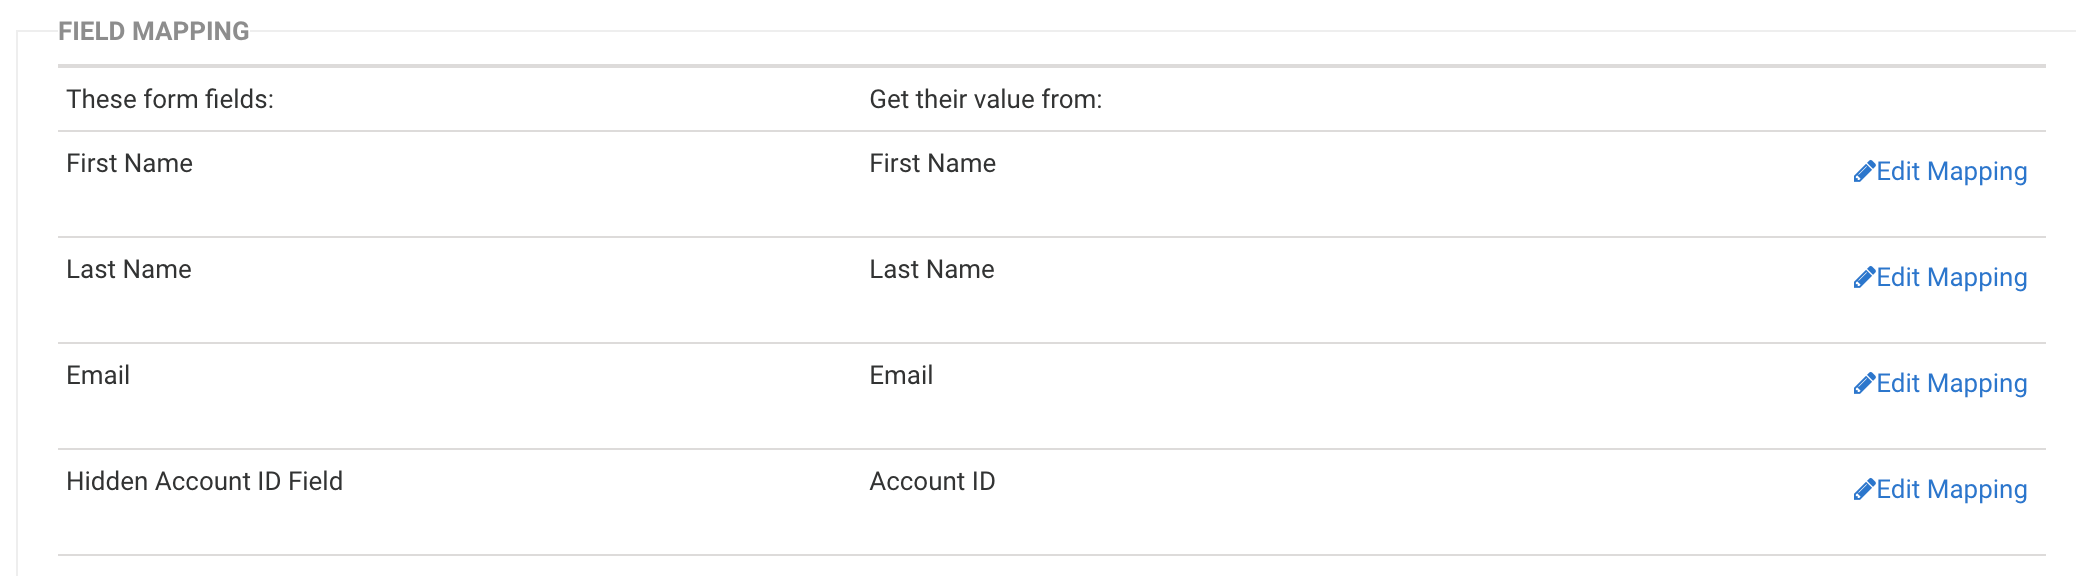
Once you have configured your lookup, you'll need to map any fields from the Contact object that you would like to prefill. At the very least, you will need to map the Account ID in this step so that the connector is pulling in that information.
Map the Account ID to a hidden field in the form, so that the user will not have to interact with it, but it can be stored for later use.
Next, you're ready to add your Account lookup. For the lookup, set Account ID equal to "a lookup result": Contact.AccountID

You can now finish configuring your connector by mapping any Account fields that you would like to prefill. When you're finished, make sure you save the connector.