Introduction
The Email Step allows you to send emails to a manually entered email address, or to email addresses collected in form responses above this step in the Workflow Builder Map.
This step combines the Auto-Responder and Email Notification processing options that are used at the form level. The Email Step can be used to configure both internal and external email messages, and you can add as many as you would like for each form submission in your workflow.
To add this Step to your workflow:
- Click the "Add Step" button on your Map.
- Select Email from the dropdown menu.

You can edit or delete this step at any time by selecting it on the Map and opening the Properties panel.
Upon selecting a form that has notifications enabled in a Form Step, an Email Step will be automatically added to the Workflow Builder Map, and the form-level email configuration will be copied over.
Properties Panel Configuration
Adding the Email Step will automatically open the Properties panel so that you can configure the step. The Properties panel for this step contains the following tabs: Description and Configure.
You can delete any step by opening the Properties panel for the step and clicking the red "Delete Step" button at the bottom.

Description Tab
This tab handles the details of the step itself, such as the Step Name and Step Description.
- Step Name - This field allows you to give the step a custom name, which can help you differentiate between your steps. It has a default value of "Outgoing Email" until manually changed.
- Step Description - You can use this field to add a description to your step.
Configure Tab
The Configure Tab contains all the fields you'll need to craft your email.
- To (recipient) - If you would like to enter multiple recipient email addresses, they must be separated by commas (,) or semicolons (;).
- BCC
- Sender Email - This is the email address from which the recipient will receive the email. You cannot enter multiple email addresses in this field.
- Sender Name
- Reply-To Email - Any replies to the notification email will be sent to the address configured here. Set this field either manually, or with the Formula Editor. With the Formula Editor, email fields set within a form can be used as reply-to email addresses.
- Reply-To Name
- Email Subject
- Send Email As HTML or as PlainText
-
FormAssembly requires all custom domains configured in sender emails to have an SPF record with FormAssembly as a supported host. Please see this article for information on configuring an SPF record.
-
If you send more than 5,000 emails per day from your domain, including those sent through FormAssembly with a custom sender configuration, consider configuring DKIM. Please see this article for information on DKIM setup in FormAssembly.
-
As an added security measure, when configuring a Sender Email, the email address entered requires verification before the Sender Email is updated. Emails will be sent from "no-reply@formassembly.com" until the new email address is verified. Emails are verified per FormAssembly instance.
-
If an email has not been verified:
-
a pending verification message appears under the changed field
-
the email address entered receives an email with a link to complete the verification
-
the validation link expires after 24 hours
-
-
-
The Reply-To Email does not require verification.
For more information about how to use the Formula Editor to create formulas and leverage field aliases, see our article on Smart Processing with Formulas.
-
The Formula Editor in the Workflow Builder has some additional aliases when compared to the form-specific Editor. Namely, you can now select fields and aliases from all previous forms when building your formulas.
-
Selecting these previous forms' fields and aliases in the Formula Editor will create a "super-alias" - these work across multiple forms and steps.
-
Super-aliases have the following format: %%[workflow step #]![field alias]%%
- The To: field does not support @IF() condition formulas. When @If() conditions are needed, we recommend utilizing conditional paths in the workflow instead.

Attach Documents
Check the "Attach Document" checkbox to attach a PDF of any form response collected before this step, or documents generated by Document Steps within the workflow, to the email.
After checking the “Attach Document” box, you must select at least one document to add to the email.
The Document Selector dropdown includes the following options:
- Document: All documents from all Document Steps in the workflow
- Note: Though all generated documents from Document Steps before AND after appear in this list, if a document generated after the Email Step is selected, it will not be sent.
- Form Response PDF: All form names from Form Steps before the Email Step appear in this list section
- choose which responses to send as PDFs
- set PDF names with either text or formulas
- send one or multiple response PDFs.
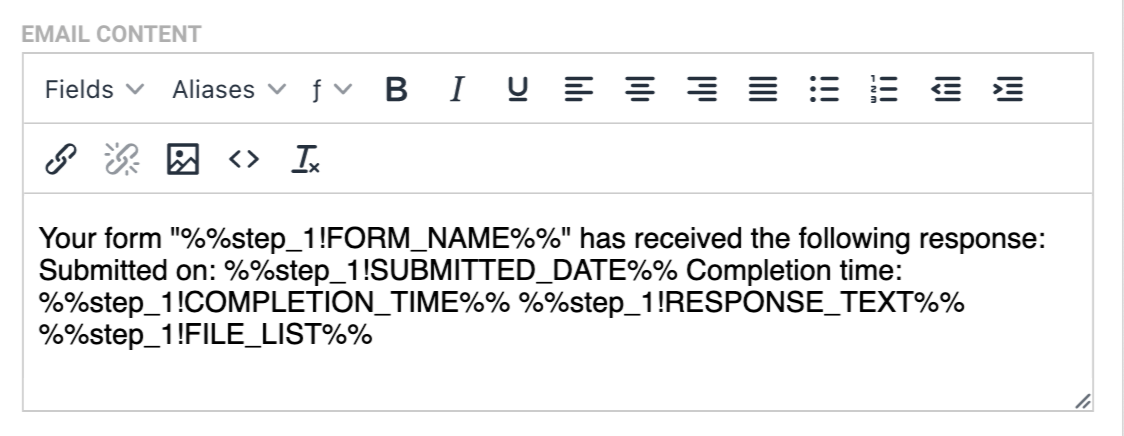
Email Content
This final text area allows you to add and customize the body of your email. You can style the text, add links and images, reference field aliases from any form above this step in the Workflow Builder Map, and reference workflow-specific aliases.