To ensure a smooth transition, switch to using a REST Key and REST Secret Key before these dates.
You can add and test your REST credentials now.
Overview
With FormAssembly's CyberSource integration, you can accept credit card payments with your form. That means secure transactions in one step, the credit card information is sent directly to CyberSource, and only the confirmation code is stored on FormAssembly.
We also recommend reading more about how you can use our reCAPTCHA feature to prevent spam submissions on your payment form.
Sensitive Data Notice
Credit Card Numbers and CVV Codes must be marked as Sensitive Data. Please click here to read more about these fields.
Requirements
You'll need a CyberSource account and FormAssembly's Payment Connector Add-on.
Required Fields
As you build your form, make sure you collect the following information:
- Credit card number
- Credit card expiration date (month and year)
- Credit card security code
- Billing first and last name
- Billing postal address
- Billing email address
Many of these items can already be found in our predefined content, to help you save time in the form-building process.
Typically, your form should also list billable items and allow quantities to be defined.
Configuration Steps
Step 1 of 4 - CyberSource Access Authorization
- Enter the Merchant ID of your CyberSource account.
- Enter the Reference Code.
- The Reference Code is a value that corresponds to the transaction reference in CyberSource.
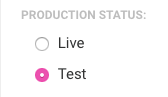
- Set the Production Status.
- The Production Status must be set to "Live" to process credit cards. In "Test" mode, credit cards will not be charged.
CyberSource authentication can be accomplished through 2 different methods:
- Transaction Key (deprecated) for your CyberSource account.
- REST Keys for your CyberSource account.
Option 1. Transaction Key (deprecated)
Enter the Transaction Key for your CyberSource account. For more information on using a Transaction Key with CyberSource, refer to CyberSource's documentation.
- To generate a Transaction Key in CyberSource, navigate to Payment Configuration > Key Management on the left navigation panel.
- Select Generate Key
- Select the key type SOAP, and click Generate Key
- Copy and paste the generated key into the Transaction Key field of the CyberSource Connector Configuration.
Option 2. Access Authorization with REST Keys
Enter the REST Key and REST Secret Key for your CyberSource account. For more information on using REST with CyberSource, refer to CyberSource's documentation.
- Within CyberSource, navigate to Payment Configuration > Key Management on the left navigation panel
- Select Generate Key
- Under REST APIs, select REST - Shared Secret and click Generate Key
- Copy and paste the generated key into the REST Key field of the CyberSource Connector Configuration
- Copy and paste the generated shared secret into the REST Secret Key field of the CyberSource Connector Configuration
- Validate the REST Keys in the CyberSource Connector Configuration
- Click the Test Your REST Key button
- A status will display whether “Valid”, “Invalid”, or “Could not validate, try again later.”
Step 2 of 4 - Payment Information
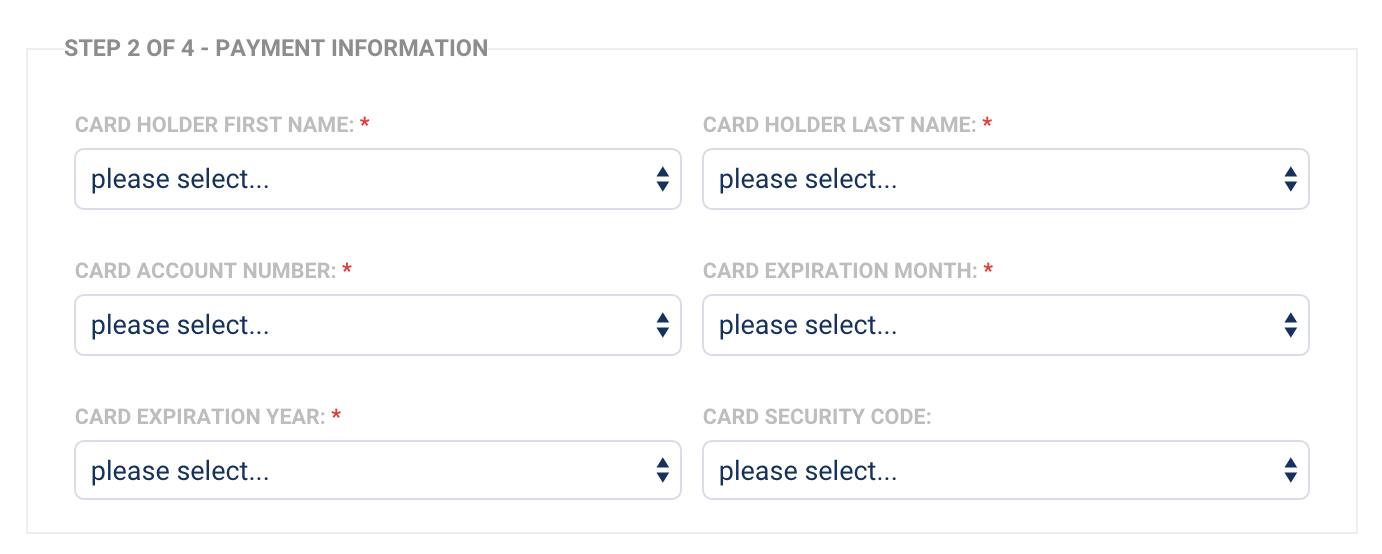
Match your form's fields to the payment information required by CyberSource. In most cases, all fields will be "defined in the form," so you can select the corresponding fields in the drop-down menu.
If certain information isn't collected in the form, you may provide that information here, by choosing the "defined here" option in the drop-down menu and entering the value in the text input.
Step 3 of 4 - Billing Information
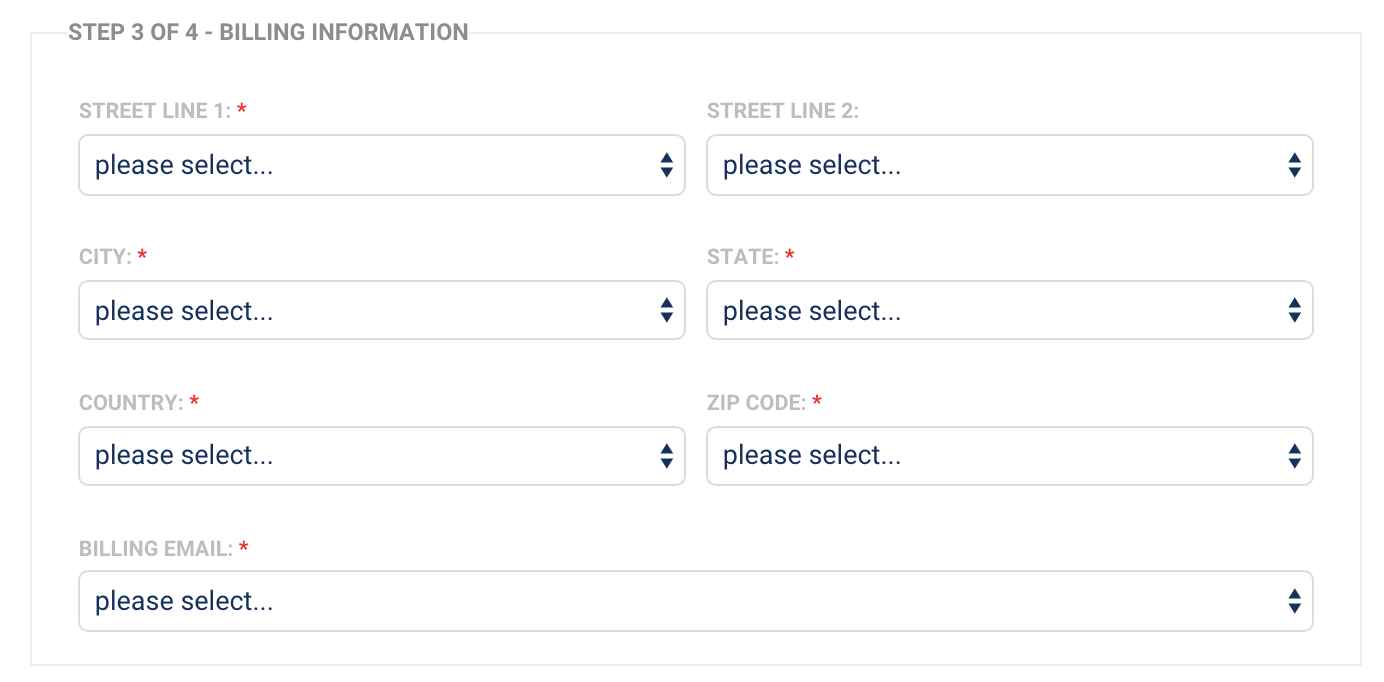
Match your form's fields to the billing information required by CyberSource, as above.
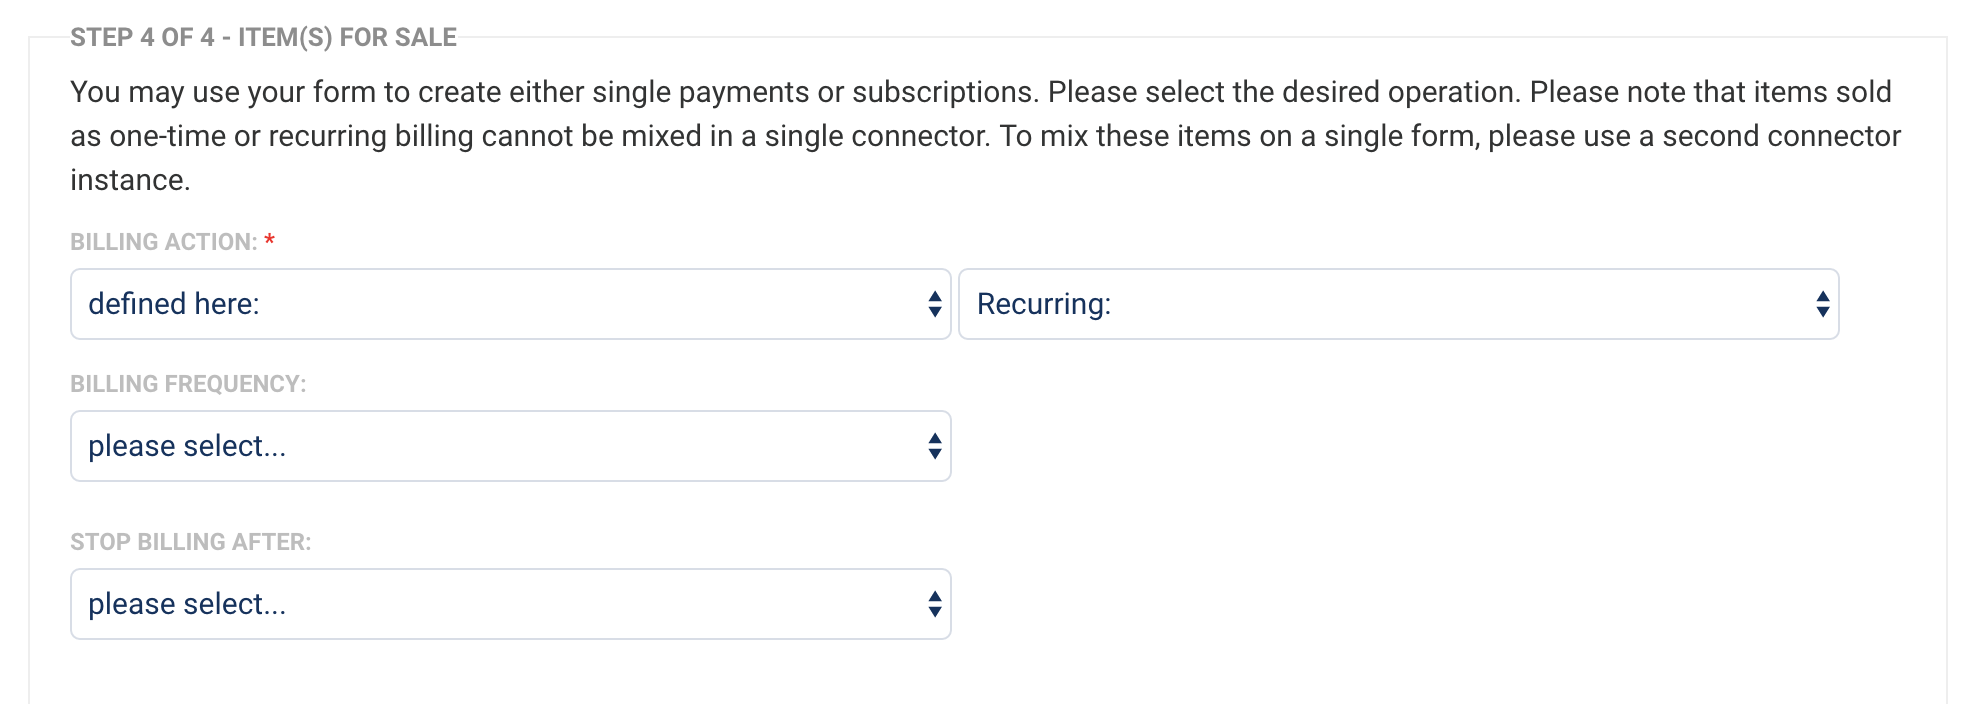
Step 4 of 4 - Item(s) for Sale

With the Billing Action, you can create one-time or recurring payments (subscriptions). To create both payment types, you'll need to set up a second CyberSource connector.
You can then list your billable items. The setup depends on how you've built your form.
Ensure the Run Mode is set to Enabled at the top of the connector setup page, and don't forget to click Apply at the bottom right. You're good to go!
If you are working with repeated fields in your form, you can read more here about how those can be used with your payment connector.
Recurring Payments
To set up recurring payments through CyberSource, you must ensure that the Billing Action under the Items for Sale step is set to recurring.
This can be done in two different ways.
- Configured within the connector, where every purchase is set as a recurring.
- Triggered by a selection in your form, so that users can choose if they would like to make a single or recurring payment.
Once you have selected the Billing Action as recurring, you will need to set the Billing Frequency (i.e., weekly, every two weeks, etc.) and, if needed, the Stop Billing After option (i.e., 12 months, 6 weeks, etc.). These mappings can also be defined here in the connector or by a selection within the form.
After you have set up these initial configuration details, the remainder of the setup for recurring billing is identical to the steps above for one-time purchases. You will need to map the item name, price, and quantity for the item(s) being purchased, and save the connector.
Processing One-Time and Recurring Payments with a Form
It is possible to process both one-time and recurring payments within a form. To enable this setup, you will have to add two separate CyberSource connectors to your connector timeline. This way, you can configure one of the connectors to run for single payments, and the other connector to run for recurring payments. You can read more about this setup here.
Test the CyberSource Connector
Before processing payments, it's a good idea to test your CyberSource connector to ensure everything is set up correctly. On the CyberSource side, log in to the Business Center Test Environment with the "Test login" link near the bottom of the window.

Generate a test SOAP key (deprecated) or REST keys, and use those with your connector when Production Status is set to Test.
If you run into errors with your connector, make sure that when production mode is set to "Test," you are using API keys from the Test Business Center, and when production mode is set to "Live," you are using API keys from the Live Business Center.
Form Fields Added by the Connector
Once you add the CyberSource connector to your timeline, the following form fields will be added as hidden fields to the bottom of your form:
- tfa_CyberSource_Transaction_Reference
- tfa_CyberSource_Transaction_Token
- tfa_CyberSource_Auth_Success
- tfa_CyberSource_Auth_Message
- tfa_CyberSource_Subscription_Id
Sending Connector Data to Salesforce
If you would like to send the values of any of these four fields above through to Salesforce (or in any other connector) you must place the CyberSource connector before the other connector in the connector timeline.
Additionally, you should not map these fields in the connector, but instead select that the field gets its value from a formula or text, and use the alias for the field.
For example, if you wanted to send the Transaction Reference to Salesforce, you would use %%tfa_CYBERSOURCE_TRANSACTION_REFERENCE%% as the alias in the field mapping.
Payment Tokenization
In the current version of CyberSource Connector, payments are not tokenized using the CyberSource API. Because of this, no payment tokens are retrieved or saved in the log.
APIs Used
The CyberSource connector uses 3 APIs:
- Authorize - to authorize a credit card
- Capture - to make a one-time payment
- addSubscription - to create a new subscription
Troubleshooting the CyberSource Connector
If you receive an error that reads "Error: General System Failure," log into your CyberSource account and perform a general search for all transactions that occurred during the day or time the error was received.
After performing this search, you should be able to locate the attempted submission that caused this error. If you click on the Request ID for the specific response that caused the error, you can find additional details for why this error occurred.
